There’s no denying that a reverse osmosis system is one of the best investments for anyone who’s concerned about their home’s drinking water quality.
This water filtration solution is one of the most effective available, removing more than 99.9% of all total dissolved solids, making water clean, pure and safe to drink.
But an RO system won’t maintain this high quality of performance without a little help from you. Aside from changing the filters as recommended by the manufacturer, you should also sanitize the system to prevent recontamination and ensure it can function at its peak.
Considering your main reason for purchasing a reverse osmosis system was probably to enjoy clean drinking water, you want to make sure you can keep it that way.
In this guide, I’ll be sharing a step-by-step process on how to sanitize reverse osmosis system. I’ll also share how to clean your reverse osmosis membrane and how to clean out your RO tank.
Table of Contents
1️⃣ How to Sanitize a Reverse Osmosis System
Most manufacturers will recommend that you sanitize your reverse osmosis system on a once-yearly basis.
If, like me, you struggle to keep track of time, I would advise marking a year from now in your calendar and making a note to clean your system. You could also choose to sanitize your system when you change your sediment and carbon filters, which typically have a lifespan of 12 months to 1 year.
The two most suitable sanitizers for reverse osmosis systems are Sani-System Sanitizer, an NSF-approved non-bleach product, or unscented bleach.
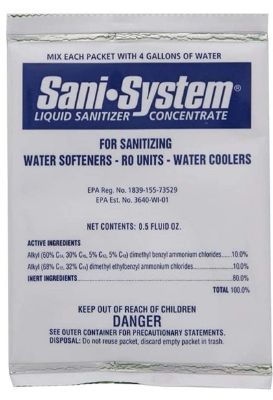
Follow the steps below to sanitize your reverse osmosis system with your pick of these products.
❗️ Before beginning, I highly recommend checking your system’s manual. It will include detailed instructions about any specifics for cleaning your unit. You will also need to replace the post-filter after this process, unless it removed & bypassed.
1. Wash & Prepare
Before getting started, wash your hands with soap and hot water. For extra protection, put on a pair of cleaning gloves. Make sure the area you’ll be cleaning your system in is as clean as possible. Wipe away any lingering dust before you get started.
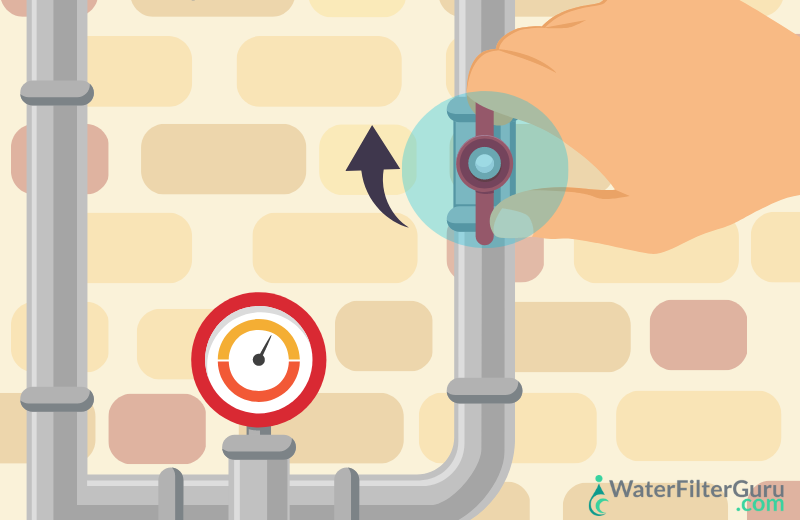
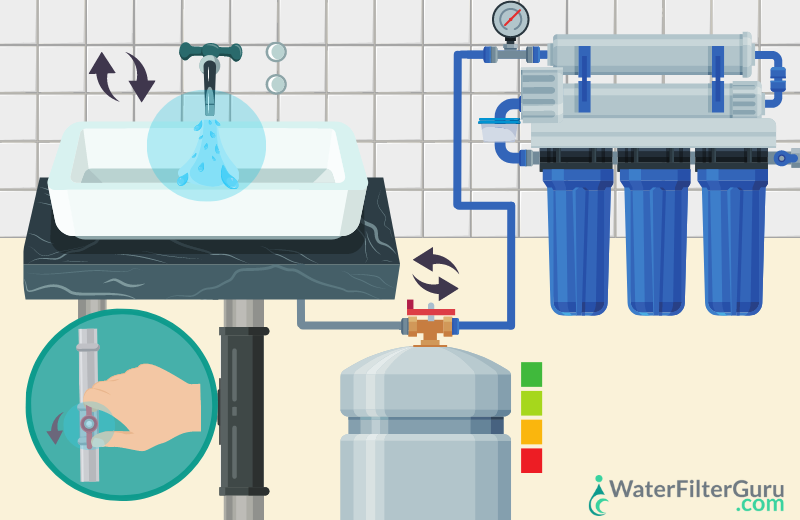
2. Turn Off Your Water
Turn off the water supply underneath your kitchen sink. For systems connected to icemakers or refrigerators, close the line to prevent water from being able to travel into these appliances.
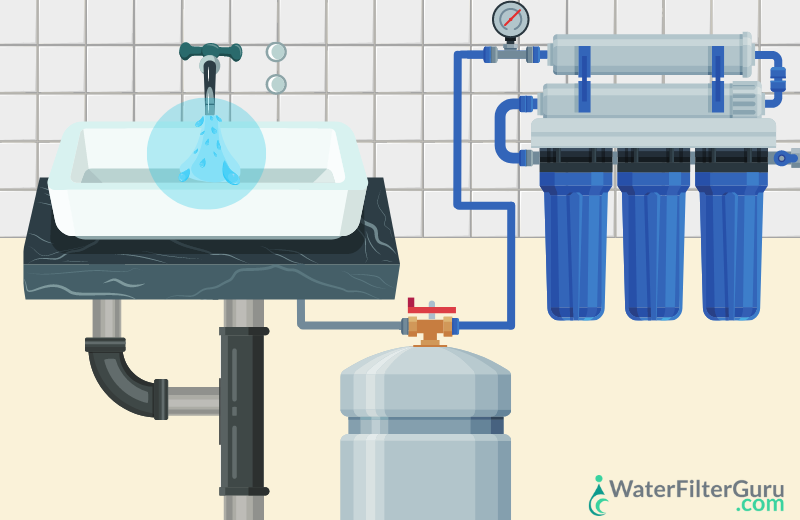
3. Drain Your Tank
Open the RO faucet, allowing for all the water to drain out of the system’s storage tank. Drain the system fully before closing the faucet again.
4. Remove the Pre-Filter
Open the housing that stores the pre-filter (this will usually be closest to the ingoing feed line that connects to the left side of the system). Remove the filter from the pre-filter housing. If you’re replacing the filter after sanitizing your system, discard it as recommended by the manufacturer.
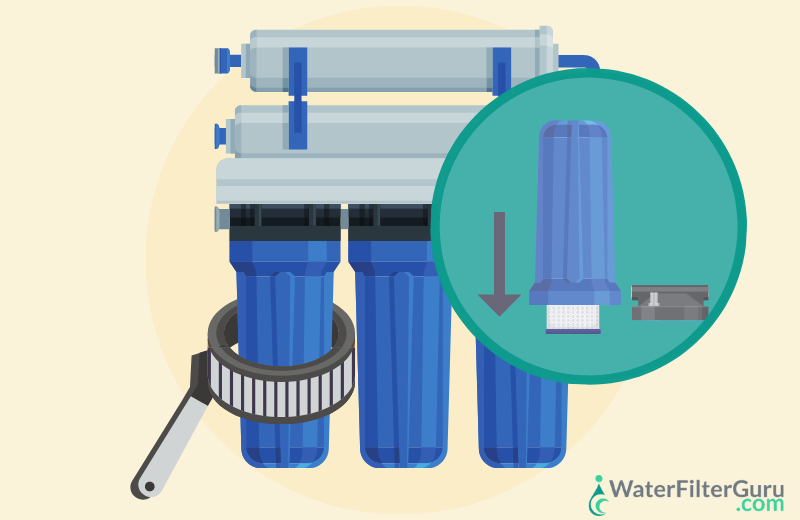
5. Remove the Remaining Filters
Remove the rest of the filters from the filter housings in the filtration system, including the reverse osmosis membrane. Again, if you’re installing new filters, you can throw out (or recycle) your old filters. If any of your filters don’t need replacing yet, place them on a clean, sterile surface for the time being.

6. Re-attach the Filter Housing
Attach the filter housings back to the filtration system, apart from the pre-filter housing. Remove the pre-filter housing if you haven’t already. Don’t add any filters to the filter housing yet.
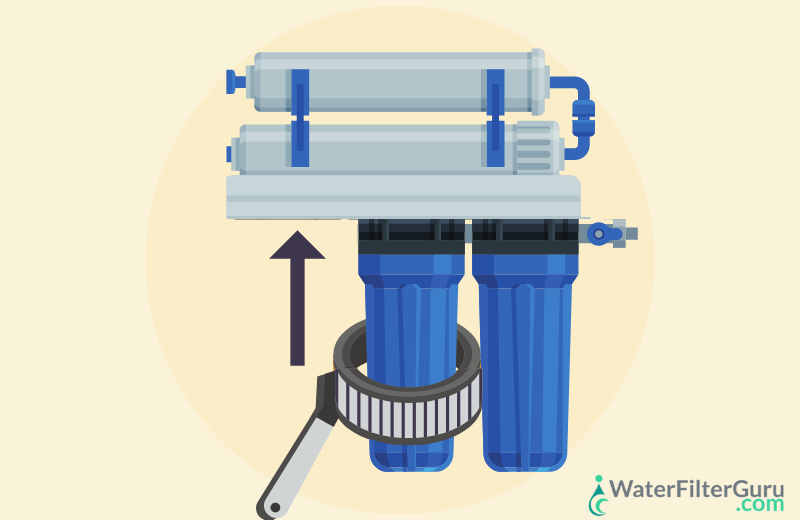
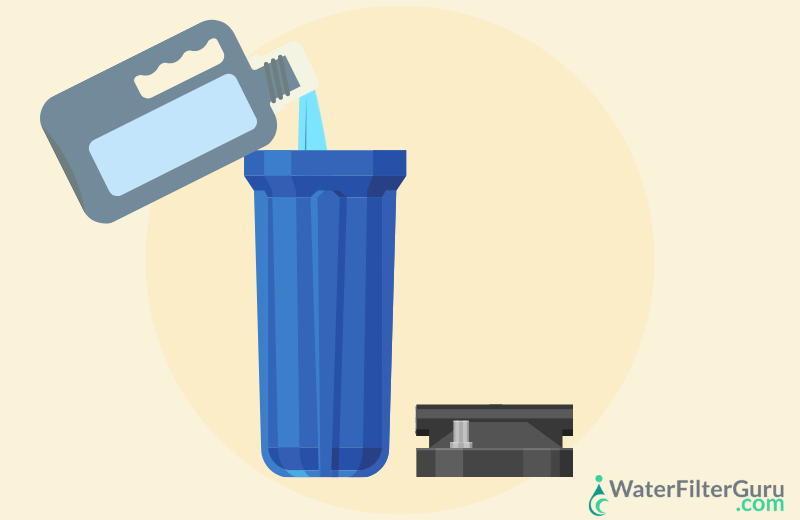
7. Add Your Cleaner
Add unscented bleach or Sani-System sanitizer to the pre-filter housing and attach it back onto your reverse osmosis system.
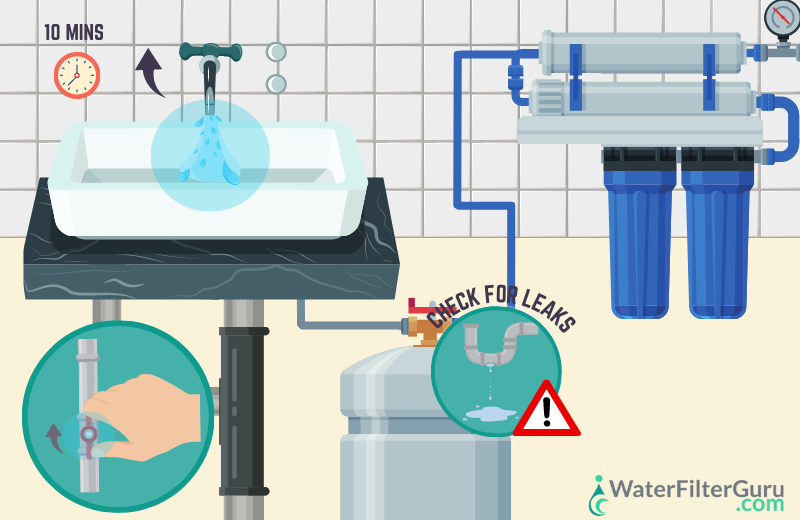
8. Fill the System
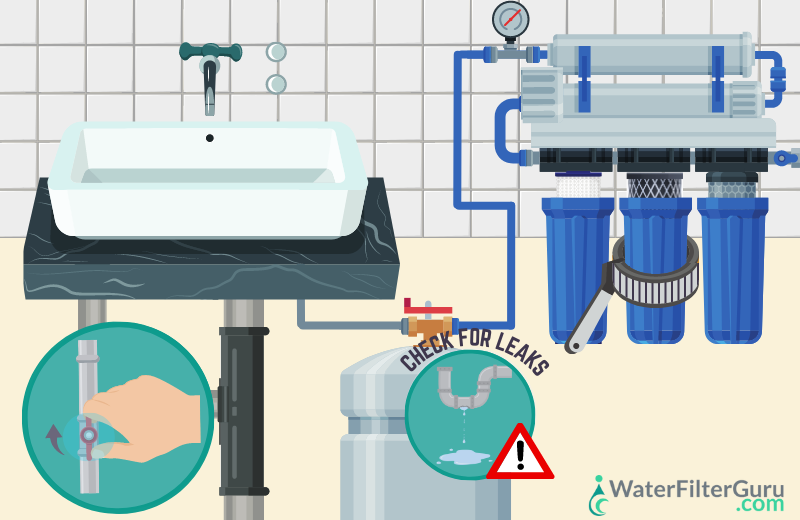
Turn on your cold water supply. This will flush the system with the sanitizer solution. It should only take up to 10 minutes for the system to fill without the filters or RO membrane installed. Make sure there aren’t any leaks during this process. If there are, turn off your cold water supply and hand-tighten your fittings.
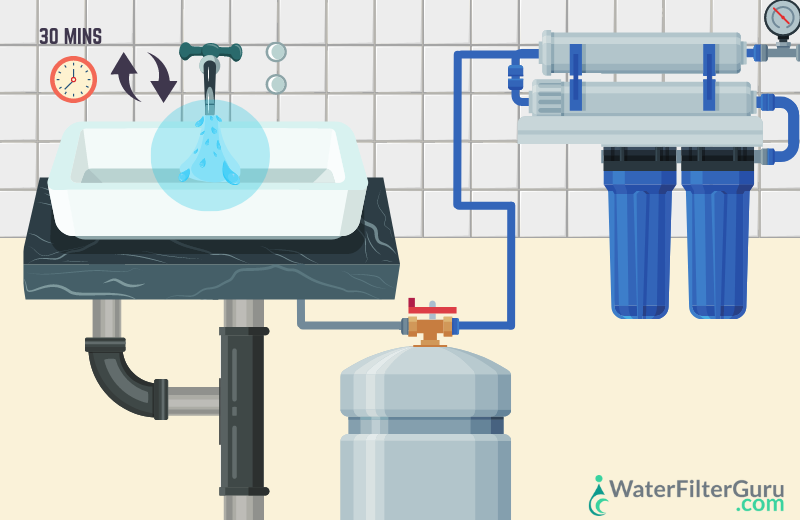
9. Flush & Repeat
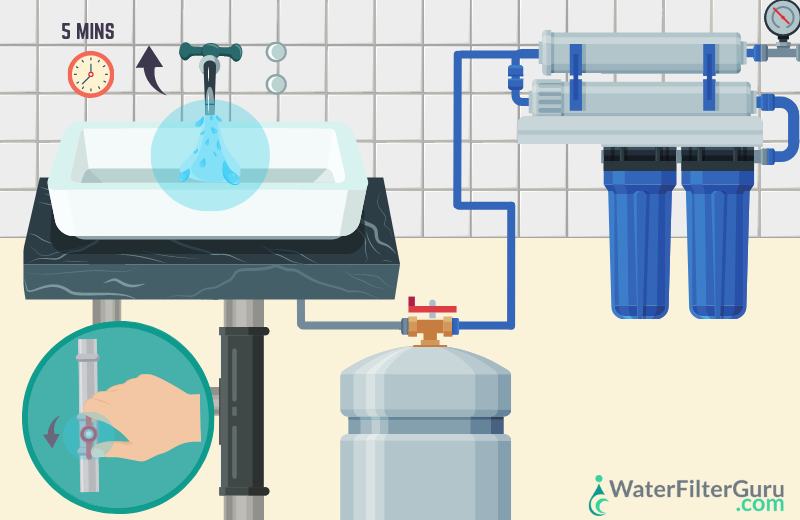
Open the RO faucet and wait until water flows out, which indicates that the water has made it all the way through the RO system. Turn off the water faucet and leave the system for up to 30 minutes. If you’re using Sani System, you’ll only need to wait for 1 minute.
10. Drain & Refill the System
Once this time has passed, turn the RO faucet back on and wait 5 minutes, until the water no longer smells of bleach. Turn off the cold water supply line and let the system completely drain. Repeat this twice, turning on the feed water, allowing the system to fill, turning on the faucet, turning off the feed water supply, emptying the system, and so on.
11. Finishing Touches
After this, you’ll be ready to use the RO system again. Replace the filters with new filters, or put the old ones back into their housing. Turn on the cold water supply and check for leaks as the system fills. With the filters in place, it’ll take several hours for the storage tank to fill.
2️⃣ How to Clean a Reverse Osmosis Membrane
It’s not just the filter housing of reverse osmosis systems that needs an occasional clean. You can benefit hugely from cleaning out the RO membrane, especially if your filter’s performance has started to flag in recent months.
Of course, you should only clean your RO membrane as recommended by your manufacturer, and not as an alternative to buying a new one. When it’s time for a replacement, no amount of cleaning will improve the membrane’s filtering abilities. It’s important to replace RO membranes as advised by the manufacturer, even if your water still looks and smells clean.
The easiest way to clean the RO membrane is to prepare a cleansing bath. Follow the instructions below to give your membrane a new lease of life:
1. Gather Your Materials
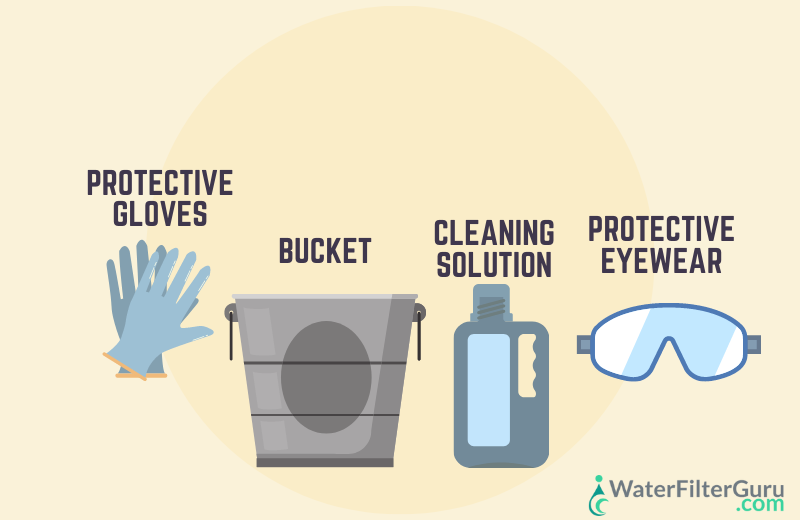
There are several materials you’ll need to clean your RO membrane, including a plastic bucket, rubber gloves, and cleaning chemicals designed for the job (there are a number of RO membrane cleaners you can buy online for the best results). You may also want to wear protective eyewear for this process.
2. Remove the Membrane
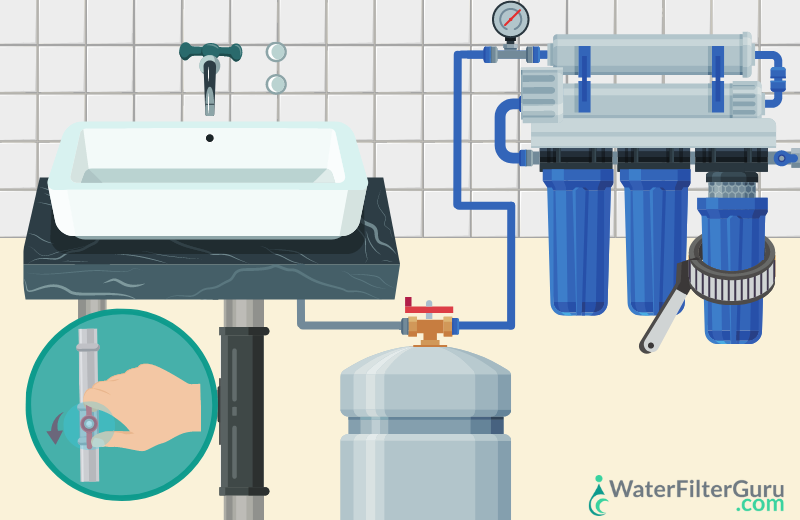
Shut off your water supply and remove the membrane from its housing in the RO system. Set the membrane on a clean, sanitized surface and put the membrane housing to the side for now.
3. Prepare a Cleaning Solution
Fill a plastic tub with water and the recommended quantity of chemical cleaner. There are a number of different cleaning solutions that can be used to remove limescale, oil, grease, mildew, mold, and so on. Only mix cleaners if you’re certain that it’s safe to do so. Otherwise, you should repeat the following process, using a different cleaner each time.
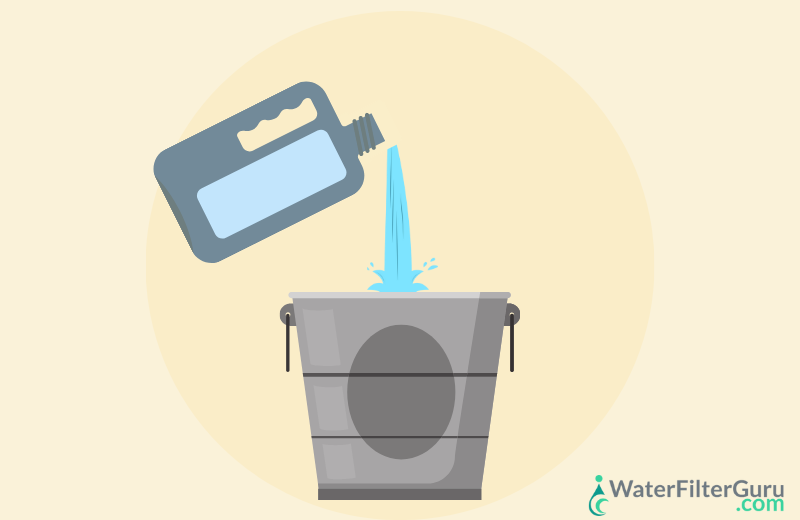
4. Soak the Membrane
Place the membrane inside the cleaning solution, making sure it’s fully submerged under the water. Leave it to soak for an hour (or a time specified by the manufacturing company of the cleaning chemical). Once the time has passed, take the membrane out of the cleaning solution and rinse thoroughly under your faucet for 5 minutes.
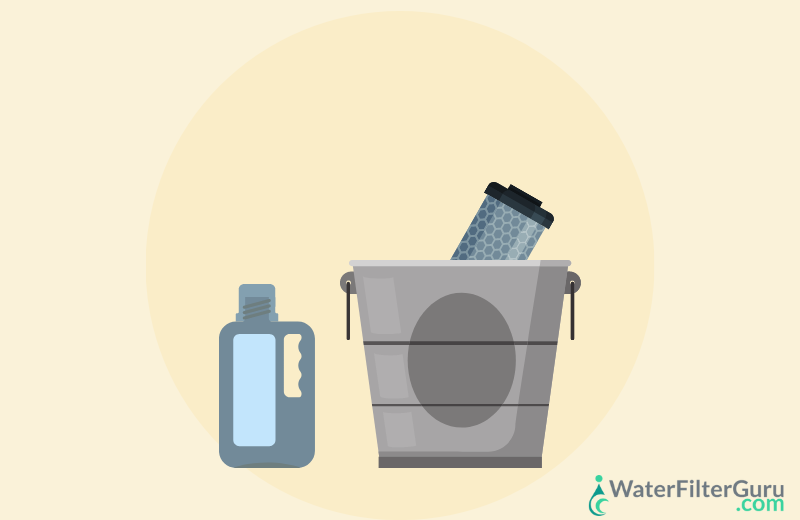
5. Return the Membrane to the System
Put the membrane back inside the housing and connect the housing to your RO system. Turn on the water supply and open your RO faucet. Let water flow out of the faucet for up to 30 minutes, which will flush out the chemicals and ensure your water is safe to drink from.
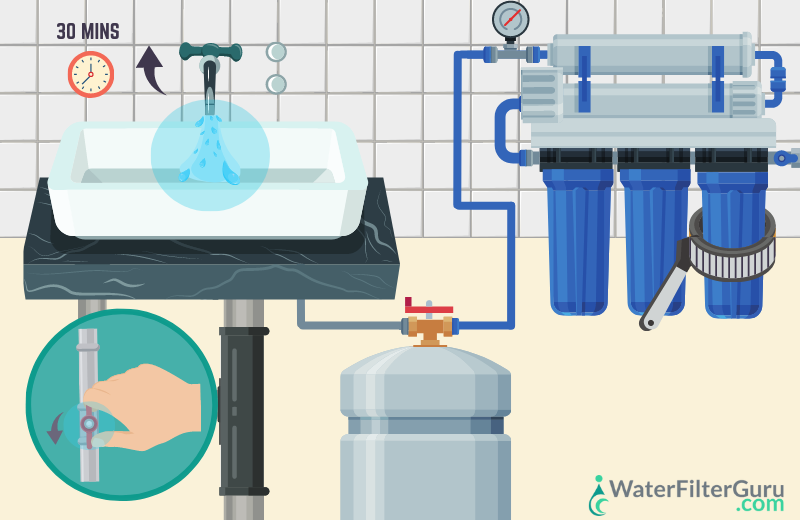
3️⃣ How to Clean a Reverse Osmosis Tank
Finally, the storage tank in an RO system is a potential breeding spot for all sorts of germs, making it perhaps the most important component to clean regularly. The more contaminated water becomes while in storage, the more work the post-filter will have to do, too, and you’ll likely have to change this water filter on a more frequent basis.
If you followed the procedure for sanitizing your RO system, you will have already cleaned out the tank and post-filter. But if you just want to clean the storage tank on its own, follow the steps below:
❗️ You will also need to replace the post-filter after this process, unless it removed & bypassed.
1. Shut Off Your Water
Shut off your cold water supply and open the RO faucet to relieve water pressure from inside the system.
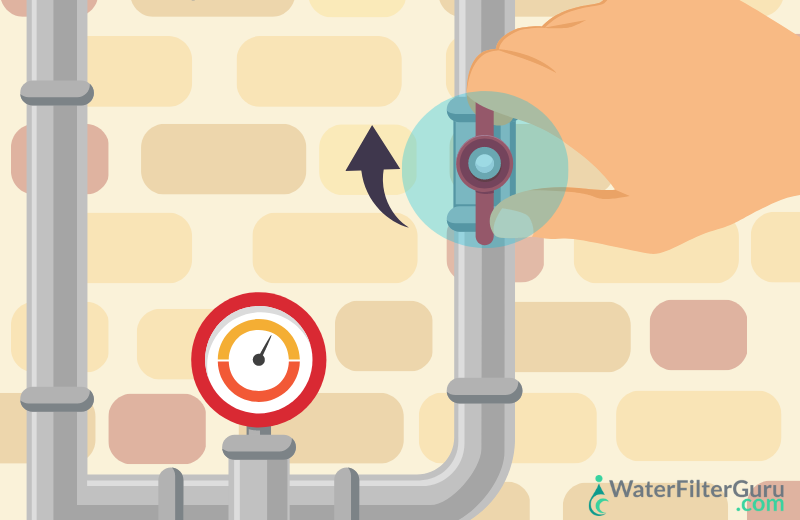
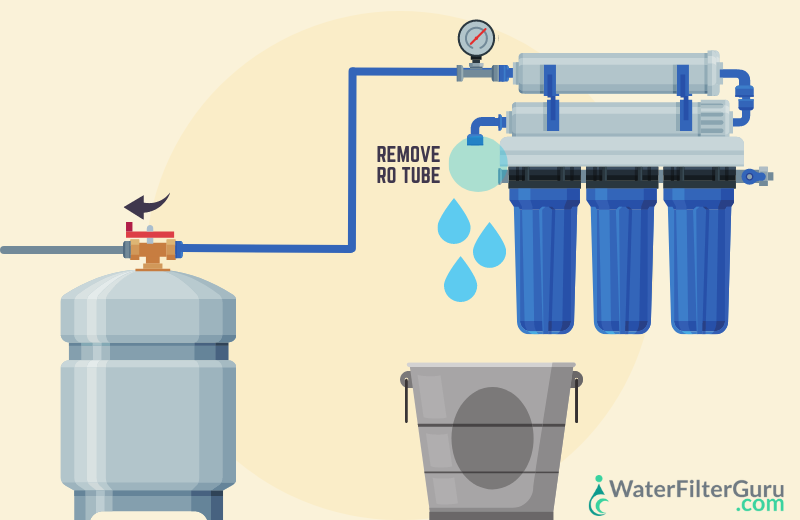
2. Remove the Tank
Close the tank valve, then remove the tank from the RO system, bringing the connecting tube with it. If there’s still any water in the tube, drain it now.
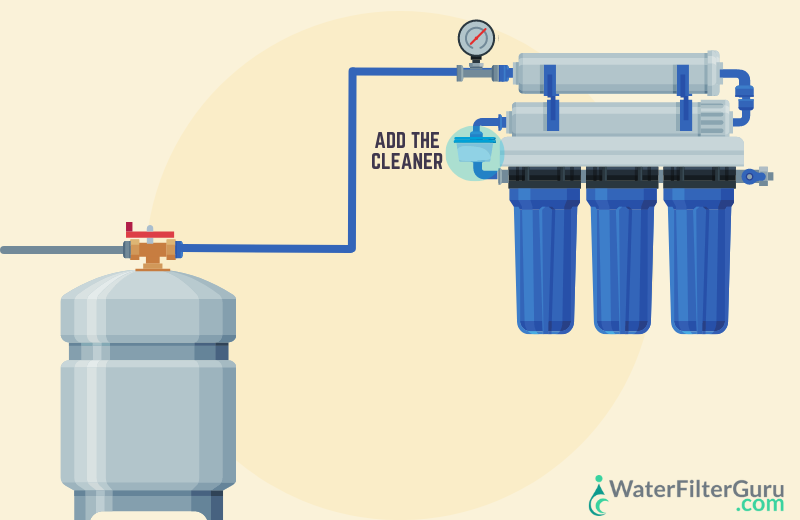
3. Add Your Cleaner
Add a little unscented bleach (around half a teaspoon) to the inside of the tube, then carefully reconnect the tube to the RO system, making sure the bleach doesn’t spill out.
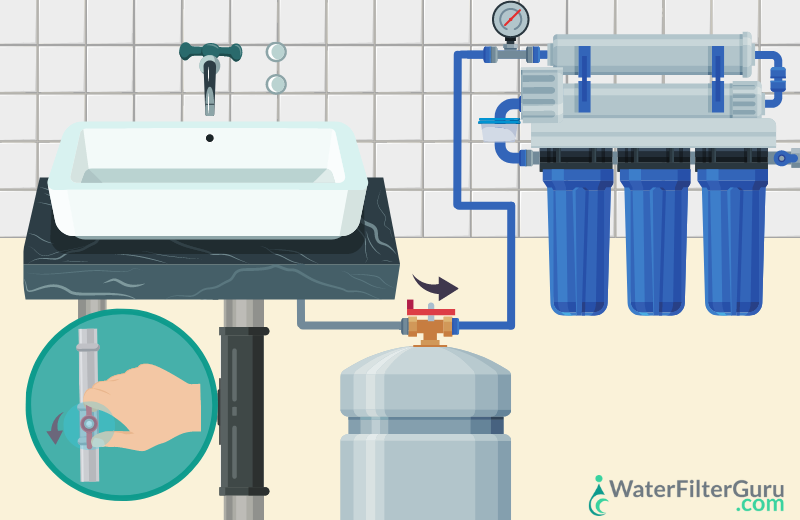
4. Fill the Tank
Open the tank valve, then turn on your water supply, allowing time for the tank to fill with water. Check for leaks during this process. Make sure your tap is switched off.
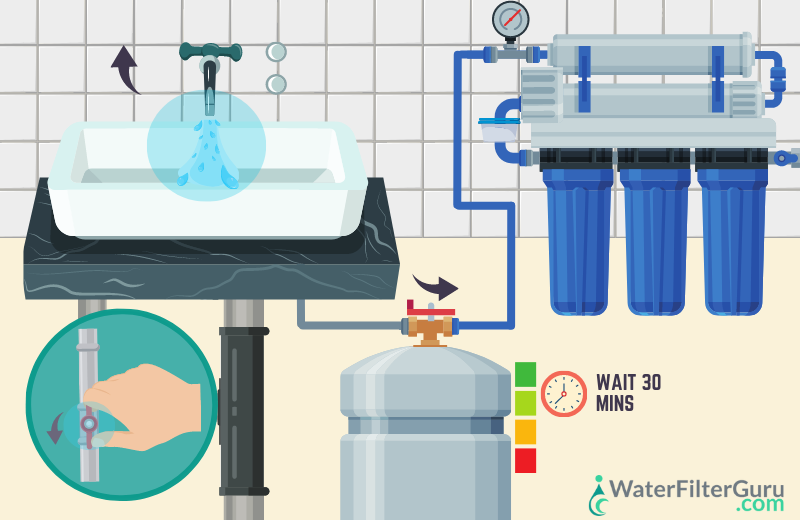
5. Leave For 30 Mins
When the tank is full, let the bleach sit for at least 30 minutes, which will allow it to kill any microorganisms, like bacteria, that could be inside the tank. After this time is up, you can open your tap and drain the system.
6. Refill & Repeat
Let the tank refill for a second time, then repeat the process, draining the water out of your faucet. Repeat the cycle for a final time if you can still smell the sanitizer.
❔ Frequently Asked Questions
Do I really need to clean my reverse osmosis system?
Yes. Cleaning RO systems with a sanitizer doesn’t only prevent the growth of bacteria; it also means that you’ll have access to the highest quality filtered water constantly (as long as you also replace your pre-filters or post-filter regularly). Cleaning can also protect your RO unit and help it to live the longest life possible, enabling you to get more out of your investment.
It’s a good idea to follow the system cleaning process as advised by your manufacturing company, along with any other suggested maintenance, such as replacing your old filter cartridges with new filter cartridges.
How do I know when my reverse osmosis system needs cleaning?
You might notice something obvious, like a bad smell coming from your tank. Your water may also taste funny, suggesting that some contaminants aren’t being filtered out.
But oftentimes, you won’t know when your water filtration system needs to be cleaned out. You may also confuse signs that your filters need changing with signs that your system needs sanitizing. That’s why I would suggest noting in your calendar to clean your water filter once every 12 months or as recommended by the manufacturing company.
What if cleaning my system doesn’t help?
If you sanitize your RO system and find it still smells bad or looks past its best, it may be time for a new filter system entirely. If they’re properly looked after, most reverse osmosis filter systems last for 10 to 15 years. Some parts may wear out before this time, and you may find that it’s less hassle to replace your system with an updated model.
How do I clean a countertop reverse osmosis system?
It’s usually much simpler to clean a countertop reverse osmosis system because the filters are contained within a small, compact unit that isn’t connected to your water line. Again, you will need to run bleach or a specialized cleaning product through the system (with empty housings – remove the filters first), waiting until the storage tank is filled with water before emptying it out and refilling/emptying the system several times over until your water no longer smells of bleach.
Which cleaners are safe to use for sanitizing my RO filters?
Your user manual should have some information about the best cleaners to use for sanitizing your system, but you could contact the seller directly for clarification. I would strongly recommend that you don’t simply use one of the household cleaners you have in your cleaning cupboard.
My advice would be to either purchase a specially designed RO sanitizing solution or make your own out of white vinegar and water. You need to sanitize the system without contaminating it with something that may linger in the system even after flushing it several times.
