Flushing your RO system will help lift accumulated contaminants and improve the system flow rate. It may also slightly extend the lifespan of the membrane and increase the time between filter changes, helping you to save money on maintenance.
In this guide, we’ve shared the best way to flush a reverse osmosis system.
Note: this guide provides instructions for flushing a reverse osmosis drinking water system. It does NOT offer instructions on how to flush an RO water filter for an aquarium.
📌 Key Takeaways:
- To flush a reverse osmosis system, turn off the water supply to the system and remove the RO membrane. Clean the membrane with a membrane cleaning formula, then remove the rest of the filters and send a chemical cleaner through the filter housings.
- You can flush an RO unit to improve water pressure and sanitize the system.
- Even with regular flushing, you should still replace the RO membrane and other filters on time.
Table of Contents
🚰 How To Flush A Reverse Osmosis System
Follow these steps to flush a reverse osmosis water filter system with chemicals:
Step 1: Gather Your Supplies
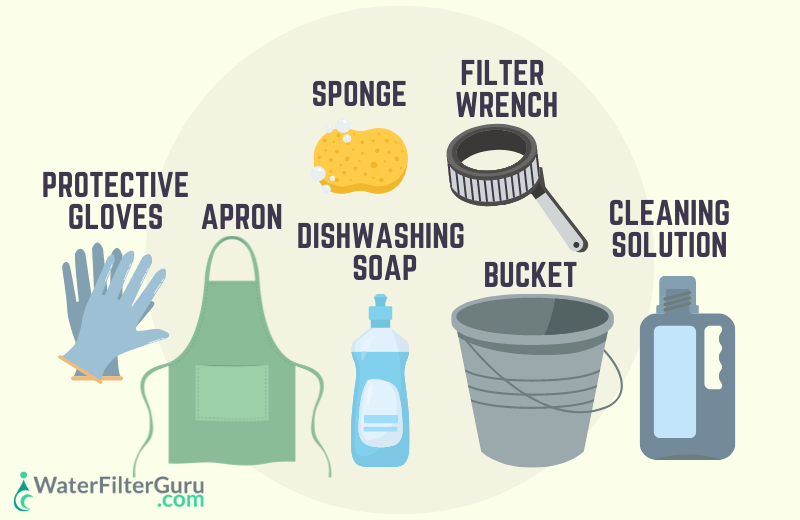
First, gather the equipment you need to flush your RO system.
Items you will need:
- Protective gloves and apron
- Your chosen cleaning solution (such as diluted bleach)
- A bucket (to catch leaks)
- Filter housing wrench
- A sponge
- Dishwashing soap
Step 2: Shut Off Your Water Supply
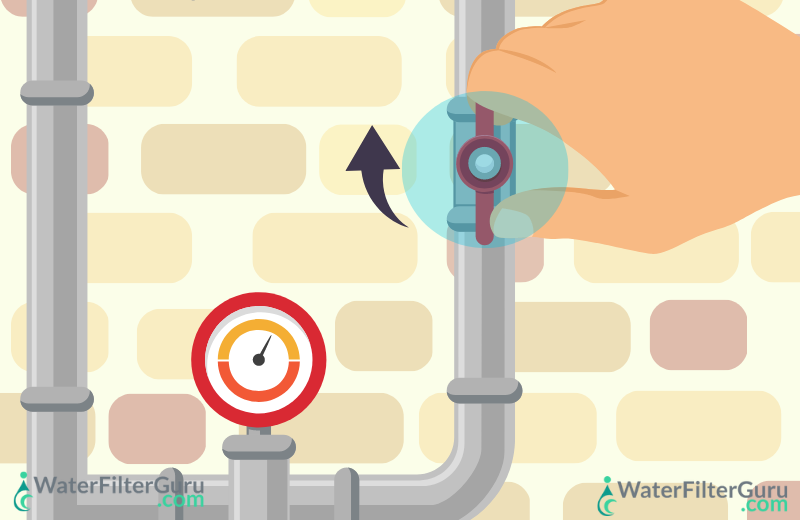
The next step is to shut off your under-sink water supply. If your system is connected to a refrigerator, an ice maker, or a water dispenser, disconnect it for now during the flushing process.
Step 3: Disconnect The Membrane
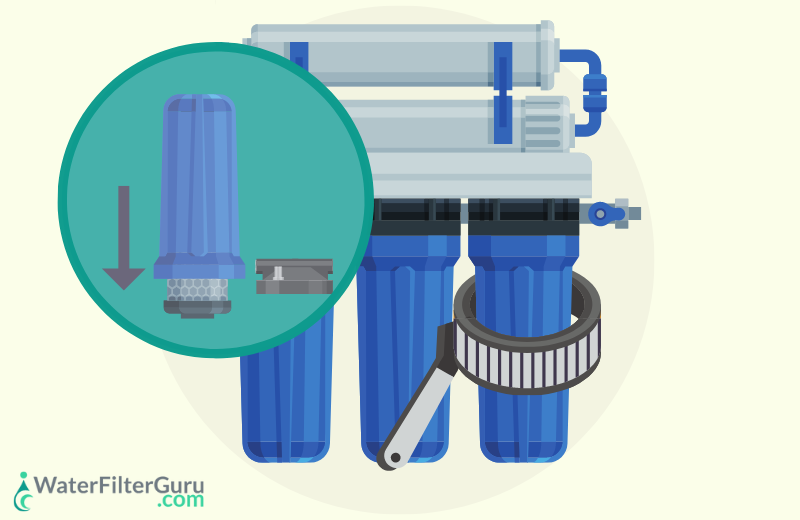
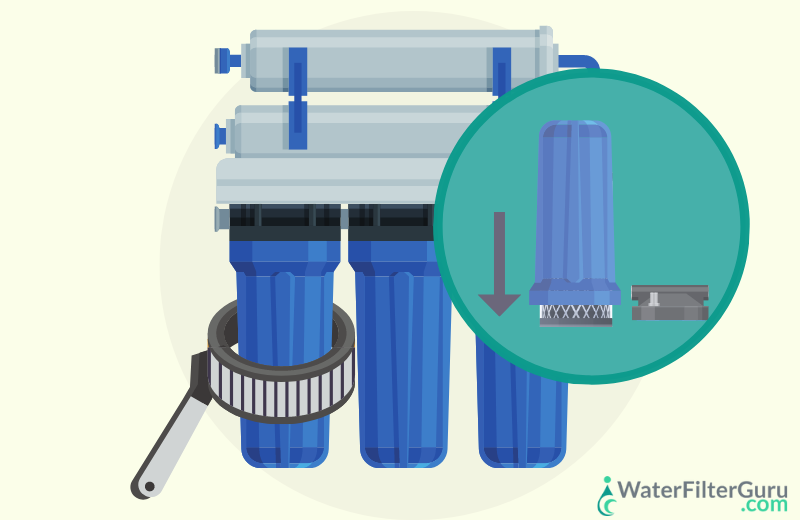
Disconnect the RO membrane housing from the unit and drain the remaining water, then remove the membrane. You might need a strap wrench to remove and open the housing.
Step 4: Clean The Membrane
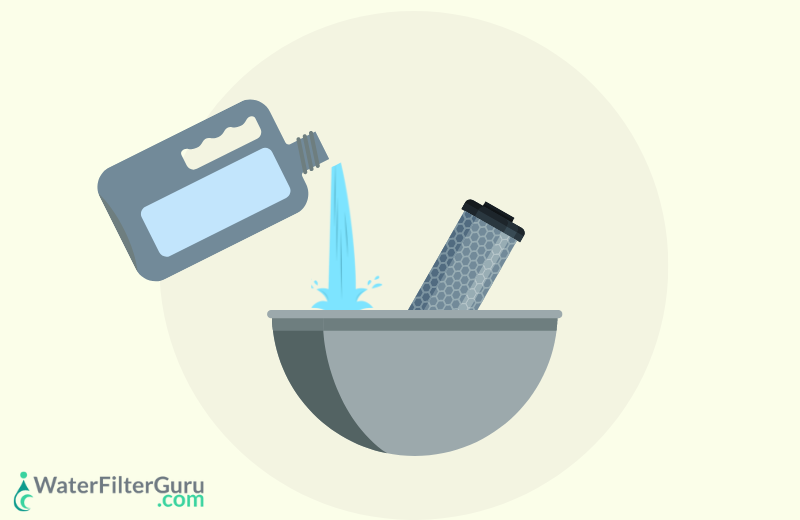
Use an RO membrane cleaning formula of your choice to clean the RO membrane. Follow the manufacturer’s instructions for the chemical cleaning process. The chemical cleaner should be designed for safe use in reverse osmosis membranes.
You might need to soak or rinse the membrane, depending on the manufacturer’s guidelines.
Place the membrane on a clean surface and leave it for now.
Step 5: Clean The Membrane Housing
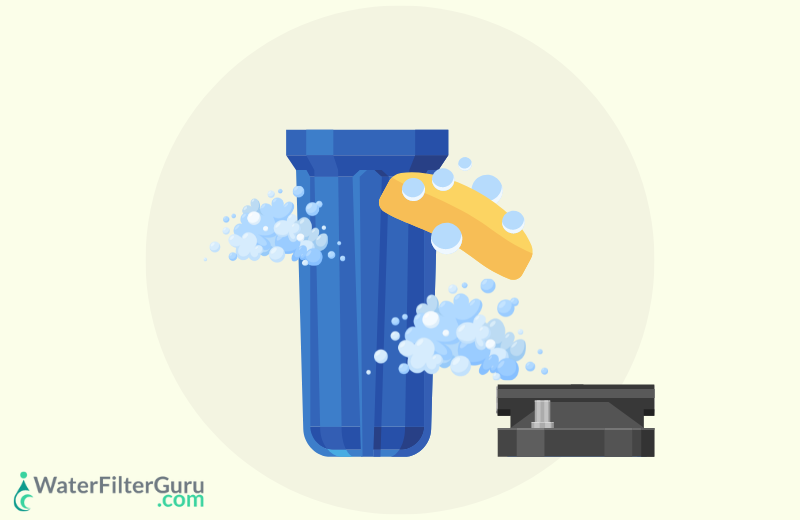
After the membrane cleaning process, don’t forget to clean the membrane housing. You don’t need chemicals or a fancy cleaning solution for this – just use hot, soapy water and clean the housing with a sponge.
Step 6: Remove The Remaining Filters
The other filter stages in a reverse osmosis unit can’t be cleaned, so they should be removed from the system before it is flushed.
Remove each filter from its housing. Place the filter cartridges on a clean surface, making sure you don’t mix them up. Or, if you need new filter cartridges, discard the old ones now.
Reattach the empty filter housings, apart from the pre-filter housing, to the unit.
Step 7: Add The Cleaning Solution
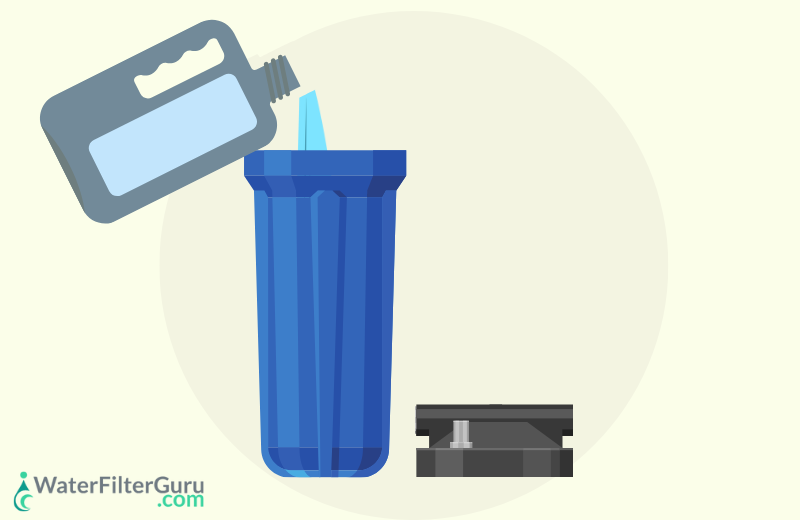
Open the pe-filter housing and add the cleaning solution.
You could use several types of cleaners and sanitizers here, including Sani-System sanitizer (a commercial product and the only NSF-approved and EPA-registered sanitizer) or unscented bleach.
Step 8: Fill The RO Unit With Water
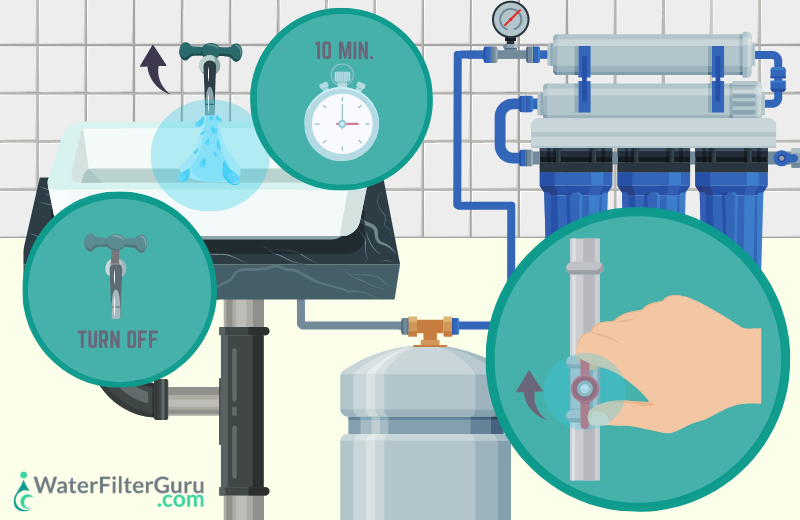
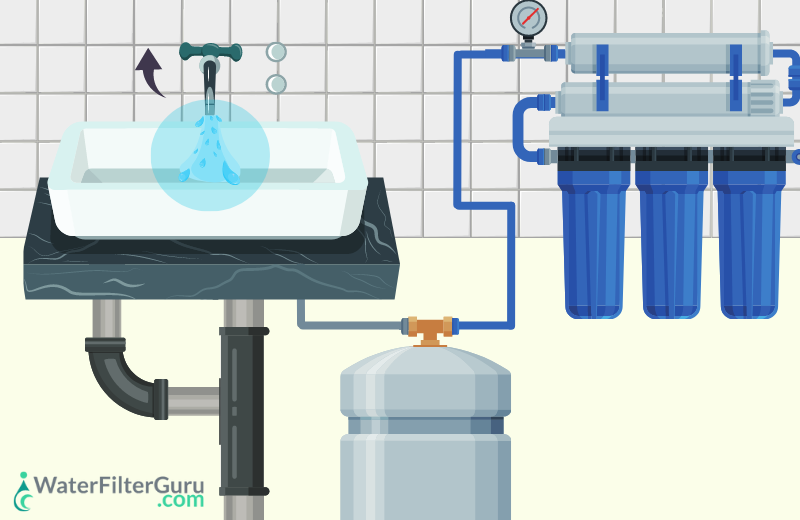
Switch your water supply back on and turn on a faucet to send feed water through the system. Wait about 10 minutes for the system to fill with the feed water, then turn off your faucet.
Wait for the allotted amount of time for the cleaner to take effect. For commercial products, this should be less than 5 minutes. If you’re using bleach, wait for 30 minutes.
Step 9: Flush The Cleaning Solution
Turn your faucet back on to flush the cleaning solution through the system, until you can no longer smell chemicals in the RO permeate (output water). Don’t drink any of this product water.
Repeat the filling and flushing process two times to ensure the system is thoroughly cleaned.
Step 10: Return The Filter Cartridges
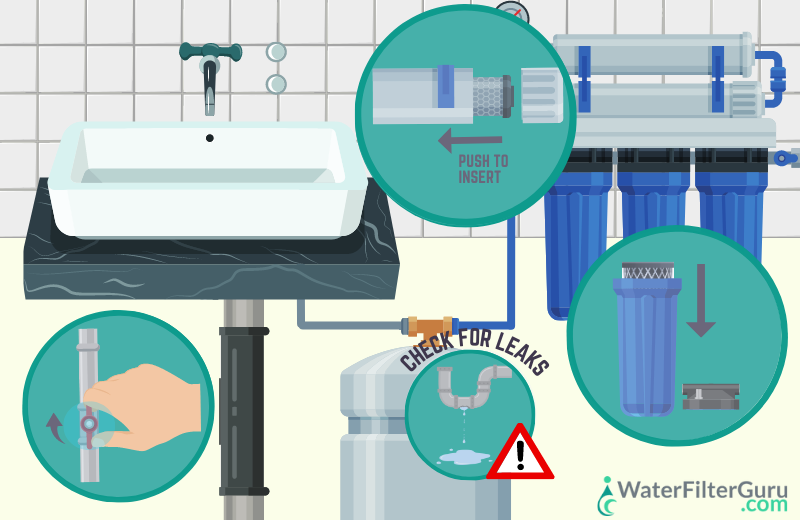
Shut off your water supply once more and put the filter cartridges and membrane back into the housings.
Once the filter stages are back in place, switch on your cold water supply and check for leaks. If there are none, the system is ready for operation.
🧴 Good Cleaners For RO Systems
Wondering which cleaners are best for RO membrane cleaning?
You might need different cleaners depending on the type of fouling or scaling on the membrane. For instance, your RO membrane might have deposits of organic and inorganic matter, metal oxides, fungi and mold, and calcium carbonate scale. Both acidic cleaners (like hydrochloric acid) and alkaline cleaners (such as sodium hydroxide) are good options for RO membrane cleaning.
You may choose to use several types of cleaners. If so, it’s important to use them in the right sequence to ensure you don’t worsen the degree of membrane surface contamination.
A good example order of use for RO cleaners is:
- Acid-based cleaner
- Rinse with water
- Alkaline cleaner
- Rinse with water
- Sanitizing solution
- Rinse with water
📆 How Often Should You Flush An RO Membrane?
You should aim to flush the RO membrane in your water filter system every 6-12 months, or when your water flow rate drops noticeably. It’s a good idea to flush your RO membrane when you replace the carbon filters.
Technically, the RO membrane doesn’t need to be flushed at all. However, flushing the membrane once every 6-12 months will clear the membrane surface and restore water flow.
Keep in mind that you will still need to replace the RO membrane as necessary. Flushing might extend the membrane’s lifespan by a few months, but it won’t make it last forever.
🔎 How To Know When To Flush A Reverse Osmosis System
You should notice a few signs that you need to flush a reverse osmosis system, including:
- Reduced water pressure and poor water flow, caused by clogging in the membrane
- A change in the taste, smell, or quality of the product water
- Noticeable fouling or scaling of the RO membrane or filter housings
🤔 Why Flush Reverse Osmosis Systems?
The main reason why people flush reverse osmosis membranes is to restore good water pressure and sanitize the system.
By rinsing and sanitizing an RO unit, you remove clogged dirt contaminants from the membrane surface and eliminate impurities that pose a health risk, like bacteria and mold.
Remember, though, there are more options available that may be safer and more suitable than flushing the reverse osmosis system.
RO membranes last about 2 years on average, regardless of how many times they’re flushed or cleaned. These membranes should be replaced regularly – there is no more effective way to keep the system operating at its best.
Related content:
❔ How To Flush An RO System: FAQ
What is meant by flushing in RO system?
Flushing an RO unit is a cleaning process that involves flushing a cleaning solution through the RO membrane (and sometimes the RO filter housings) to sanitize the membrane surface and reduce the built-up contaminants.
Do I need to flush my RO system?
You don’t need to flush your reverse osmosis system. Many people simply replace the membrane when the flow of RO water reduces. However, you can improve the membrane performance and extend its lifespan by flushing, so it’s worth doing if you want to save money and decrease the frequency of filter changes.
How long should I flush my RO membrane?
You should flush your RO membrane for 10 to 15 minutes, or until all the cleaning solution has been removed and you can no longer smell chemicals.
How long should you flush a new RO membrane?
The general advice is to flush new RO membranes for at least 5 minutes before use. You can flush the membrane simply by opening your faucet and sending water through the unit. All the filters need to be flushed as well as the membrane, and it’s easiest to send water through the entire system. If you don’t want to waste the flushed water, use it to water your plants or for cleaning in your home.

