Most refrigerator water filters can only remove 5-10 contaminants from tap water. If you’re keen to massively improve your water quality, a simple refrigerator filter won’t cut it.
The best way to get clean, pure water from your refrigerator is to use an under-sink reverse osmosis system, then connect this system to your fridge ice and water dispenser.
We’ve shared the step-by-step process of how to connect a refrigerator with a reverse osmosis system in this guide.
📌 Key Takeaways:
- To connect a reverse osmosis system to your refrigerator, you’ll need a union tee (T fitting) and connector, flexible tubing, and an inline ball valve.
- Connect the units by shutting off your water supply and installing a T fitting at the line that connects the RO filter to your faucet. Run a new line of tubing from your RO filter to your refrigerator.
- Reverse osmosis systems are better than refrigerator filters because they offer much more advanced filtration.
Table of Contents
🪛 How to Connect a Reverse Osmosis System To A Fridge Water Dispenser: Step By Step
To connect your RO system to your fridge, follow these 6 simple steps:
Step 1: Gather Your Tools and Materials
You’ll need the following equipment and tools to connect an RO system to your fridge:
- A union tee
- A union connector/ adapter
- Flexible tubing (enough to reach your fridge; no more than 30 feet)
- An inline ball valve
- A large bowl or bucket
- Plumber’s tape
- A sharp knife or scissors
Step 2: Shut Off The Water
Shut off the cold water line underneath your kitchen sink and place a large bowl or bucket beneath the tube that connects the RO system to the dedicated drinking water faucet.

Step 3: Cut The Tube
Measure about 10 inches away from where the tube leaves the RO unit, then cut the tube with a sharp knife or scissors, catching the water in the bowl or bucket.
Step 4: Install the T Fitting
Push the T fitting onto the tubing that’s attached to the RO system as far as it’ll go. Lightly pull the tubing to make sure it’s secure. You can use plumber’s tape for a more secure connection. Attach the other end of the T to the other cut tube that’s connected to the RO faucet.

Step 5: Attach the New Tubing To The T Fitting
Cut a 10-inch section of your new flexible tubing and push it into the T fitting. This section of tubing should be at a 90-degree angle to the tubing that’s connected to the RO faucet.
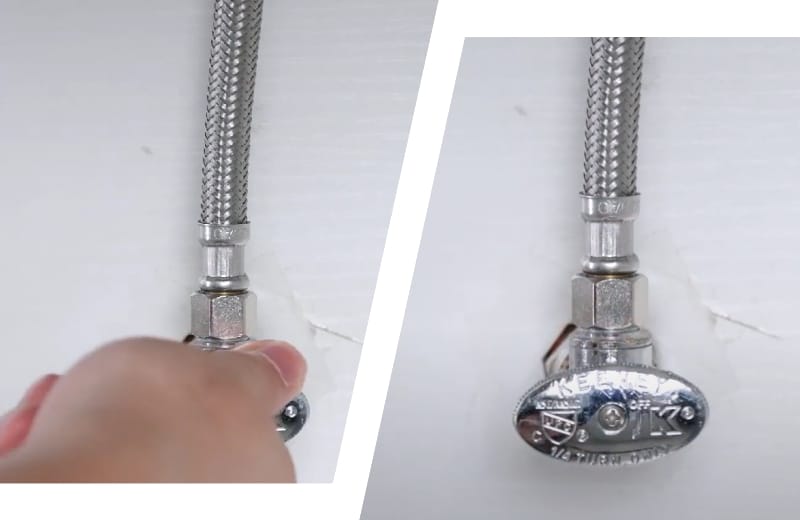
Attach the inline shutoff valve to the other end of the 10-inch piece of flexible tubing.
Step 6: Attach The Rest Of The New Tubing
Take your remaining new tubing and attach one end to the other side of the shutoff ball valve, making sure the valve is off for now (until the RO storage tank is full).
Run the tubing along your skirting board from the RO system to your refrigerator, and connect the tubing to your fridge. You might need a union connector or an adapter for this.
And that’s it! Your RO system should now be connected to your fridge and ready to use.
🧰 Why Connect a Reverse Osmosis System To A Fridge?
Wondering why you should bother connecting an under-sink RO system to your fridge when you could just use a plain old fridge filter?
It comes down to contaminant removal.
📌 Even the best refrigerator can’t match up to a reverse osmosis water filtration system. Fridge filters are typically quite small, consisting of one type of filter media (carbon filters are most popular).
Carbon filtration is good at reducing chlorine, tastes, odors, and some VOCs and disinfection byproducts. RO filters, on the other hand, combine carbon filtration with a sediment filter and a semi-permeable membrane, removing virtually all total dissolved solids from water.
In short, reverse osmosis produces much better-quality water than any fridge filter can.
📝 Connecting Your Fridge To Your RO System: Top Tips
Now you know how to connect your fridge to your RO filtration system, keep these top tips in mind.
- If your fridge has a copper pipe leading to the ice maker or water dispenser, you won’t be able to connect the RO filter. It’s dangerous to use reverse osmosis-treated water in copper pipes due to the water being more susceptible to metal leaching.
- Don’t attempt to connect an RO system to a fridge if the flexible tubing has to travel more than 30 feet without modifications.
- Some manufacturers offer dedicated kits for connecting reverse osmosis systems with refrigerators, with different tubing size options depending on your water pressure.
- Remember that a reverse osmosis will reduce your water pressure to about one-third of the usual pressure from your kitchen sink cold water line. Your fridge might also have specific pressure requirements. Contact the manufacturer if you’re unsure.
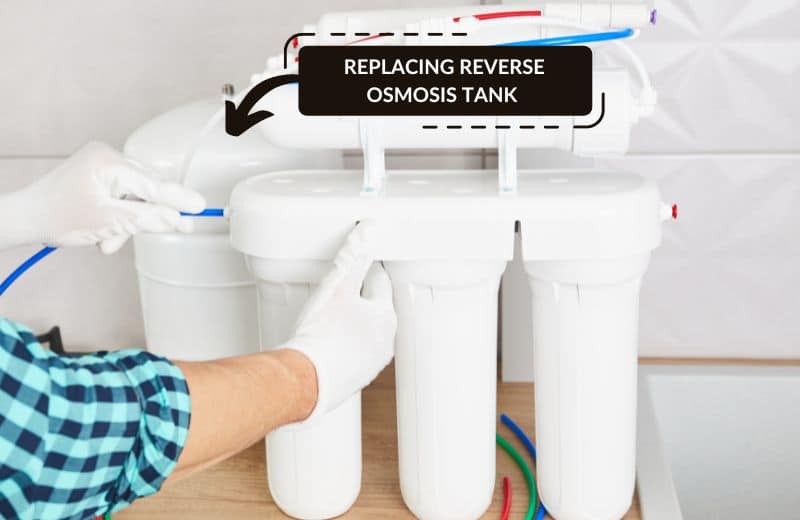
- When you need to replace the filters in your RO drinking water system, shut off the inline valve until you’ve changed all the filters and flushed the system thoroughly.
Continue Reading:
- Looking for a system that virtually removes all contaminants? Learn about the Top Reverse Osmosis Systems of 2025
- Check out our Step-by-Step Installation Process for the Average Reverse Osmosis Filter
- Want an efficient fridge filter? Here are our Top Refrigerator Filter Recommendations
- Keen to learn more about fridge filters? We’ve answered questions about the effectiveness of refrigerator filters here!
- Or compare refrigerator water filters vs under sink filters.
