Just moved into a home with a private well? Or considering buying a property with an existing well?
This guide will cover everything you need to know about owning a home with well water, including your responsibilities as a well owner, how to test and treat your water, common well contaminants, and more.
Table of Contents
- 📤 What Is Well Water?
- 🤔 Where Does Well Water Come From?
- 📝 What to Consider Before Buying a House with a Private Well
- 📋 What Are a Well Owner’s Responsibilities?
- 🧪 How to Test Well Water
- 🧫 Common Well Water Contaminants
- 🚰 How to Treat Well Water
- 🔧 How to Maintain a Private Well
- ⚖️ Pros and Cons of Buying a House With Well Water
- 🧠 Owning a Home With a Private Well: FAQs
📤 What Is Well Water?
Well water is water supplied by a well. If you’re buying a property with a private well, it means that the property’s water supply – used for drinking, showering, washing clothes, and all the rest – is obtained from a private well.
Well water is most commonly found in off-the-grid homes. Most homes have access to a public drinking water supply, but private wells are often found in rural homes, where access to public drinking water is tricky. Some homeowners living in urban areas may also choose to install a private well to save money on water bills.
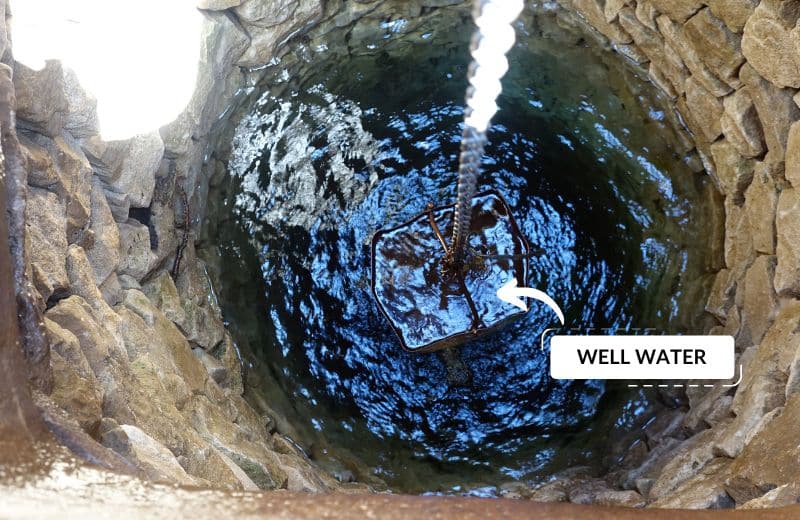
🤔 Where Does Well Water Come From?
Most well water comes from an underground aquifer. An aquifer is a water-bearing rock, often hundreds of feet beneath the ground’s surface. Wells are drilled down into aquifers and extract the water with a pump.
Well water is known as groundwater, meaning that it has seeped through layers of earth, soil, and rock. On its journey into the aquifer, the water absorbs minerals and dissolved organic matter from the materials it seeps through. For this reason, raw water from a well isn’t usually drinkable.
Continue Reading:
📝 What to Consider Before Buying a House with a Private Well
If you haven’t already bought a home with a private well, it’s worth considering the following factors before taking the plunge:
- What size and capacity is the well? Will the flow rate provided be high enough for your family’s water needs?
- What’s the condition of the well? Will it need work soon? When was the last inspection? Ask the current owner to see paperwork.
- How much water does the well hold? Is the well at risk of drying out? What (if anything) can be done to prevent this?
- How is the current owner treating their water? What water treatment systems are they using? Will these systems remain in the house when you buy it, and how do you maintain them?
Asking these questions will give you a detailed overview of the well’s history and condition, and the tasks involved in maintaining the well on a day-to-day basis.
📋 What Are a Well Owner’s Responsibilities?
There are several responsibilities that the owner of a whole house well water system has:
Keeping a Well File
Keeping records of your well’s history, construction, and maintenance will make it much easier to maintain the well in the long term.
When your home’s well was drilled, the company should have produced a log with important information like the well depth, diameter, and materials. You should add to this log with records of maintenance and water testing/treatment to help you stick to a maintenance schedule.
Testing and Treating Water
Unlike city water, water from private wells is untreated. This means your water may contain higher-than-acceptable levels of contaminants deemed by the Environmental Protection Agency or your local health department.
To protect your water from harmful bacteria, volatile organic compounds, sediment buildup, and other common well contaminants, you’ll need to get your water tested annually and treat your water according to the test results.
Related:
- Do you need to filter well water?
- How to Purify Well Water for Drinking: The Ultimate 2025 Guide
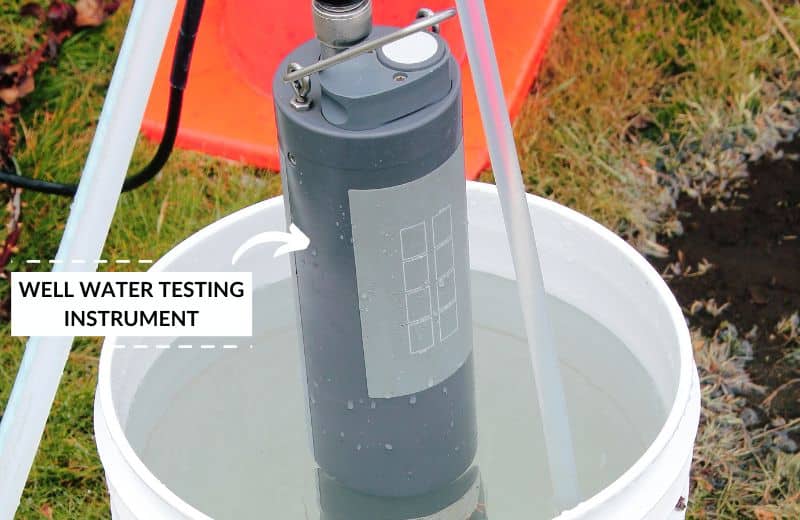
Maintaining the Well
Finally, the owner of a private well is responsible for maintaining their well water system, including the well pump system, the pressure tank, and the well casing, to ensure that the well continues to safely provide a consistent supply of water.
Related: Well Systems Diagram & Components Explained
Maintaining a well involves scheduling annual well inspections and paying for repairs or replacement parts in your well as recommended by your local water expert.
🧪 How to Test Well Water
Wells draw water straight from the ground, so the water is often more contaminated than municipal water, especially in regions where local groundwater contamination is highly likely.
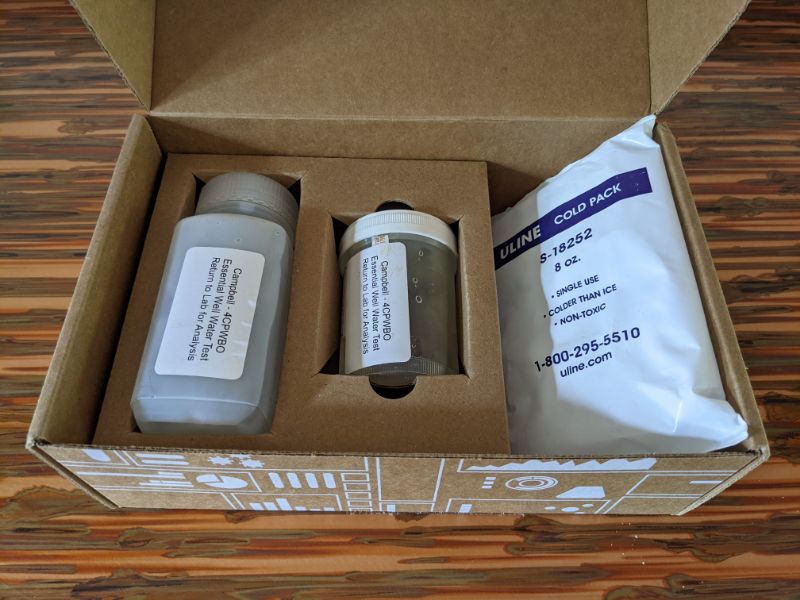
To find out what contaminants your well contains, you’ll need to test your water. We recommend using a state-certified lab, which can provide a clear report listing all the contaminants present in your water, and their concentrations, usually measured in parts per million (PPM) or milligrams per liter (mg/L).
You should get your water tested at least once a year for lead, nitrate, arsenic, E.coli and coliform bacteria. Depending on local geology and pollution, there may be other contaminants you should test for, too. If your water quality changes in some way – whether by taste, smell, appearance, or anything else – get your water tested as soon as possible.
More on the common well water contaminants below.
🧫 Common Well Water Contaminants
Some of the most common contaminants found in a well water system are:
- Iron, manganese, and hydrogen sulfide – These contaminants are typically safe to drink, but at elevated levels, they affect water quality. Your water may taste metallic or smell like rotten eggs, and may leave orange, brown, or black staining on your water-using appliances.
- Sediment – Large particles of sand, dust, rust, and dirt are commonly found in a well water system. These particles are usually harmless but may damage your plumbing and appliances.
- Hardness minerals – Calcium and magnesium minerals, which are responsible for hard water, are typically present in high quantities in well water. Hard water is responsible for scale formation, which is incredibly damaging around your home.
- Bacterial contamination – Wells placed near septic systems or farms, or wells with cracked casing, are at risk of bacterial contamination. Bacteria like E.coli can cause gastrointestinal illness when consumed in drinking water.
- Fluoride – Fluoride is found naturally in the ground. Low levels of fluoride are thought to be good for dental health, but too much fluoride in a well system may lead to dental and bone conditions.
- Radionuclides – Uranium, radium, and other radioactive forms of elements enter into drilled wells if they’re naturally present in the ground, or from mining, milling, and other industrial processes. Radionuclides have toxic effects when consumed in water.
- Heavy Metals – Arsenic, chromium, lead, selenium and other heavy metals enter private wells from local pollution and from old well components made from metallic materials. Many of these heavy metals – especially lead – are toxic.
Learn more about the common well water quality problems and how to treat them in this guide.
🚰 How to Treat Well Water
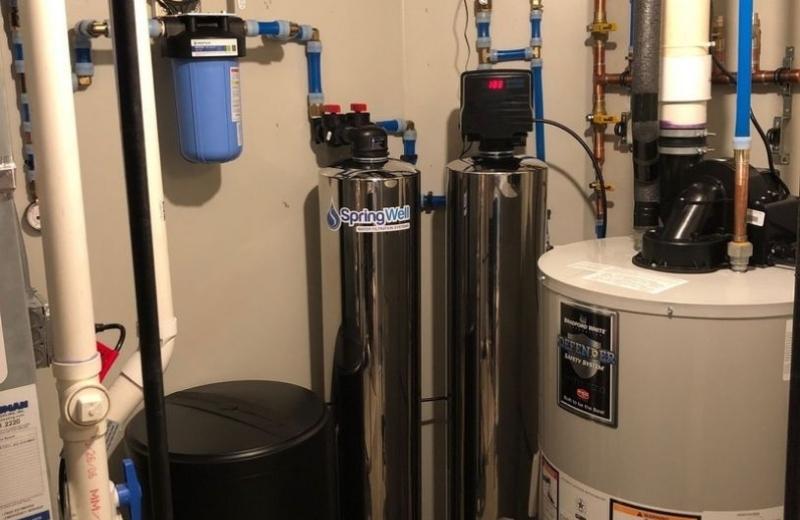
The best way to treat well water is with a whole home water treatment system installed at your water’s point of entry into your home. There are two common types of water systems:
Water Filtration Systems
Water filtration systems are designed to remove common contaminants from a home with a well.
There are dozens of filtered water systems for wells on today’s market. Some of the best well water filters can remove a targeted selection of the most common well contaminants, such as iron, sulfur, manganese, sediment, and heavy metals.
There are standalone filters, like sediment filters, and systems combining several filtration stages to remove a greater range of impurities. UV systems are also available to protect your water from bacteria.
Water Softeners
Water softener systems are designed to tackle water hardness. A traditional water softener physically removes magnesium and calcium with a process known as ion exchange.
Some of the best water softeners for well water can remove virtually all traces of water hardness, eliminating issues with scale. Some water softener systems can also target low levels of iron.
🔧 How to Maintain a Private Well
Aside from getting your water tested annually, maintaining a well involves the following tasks:
Annual Well Inspection
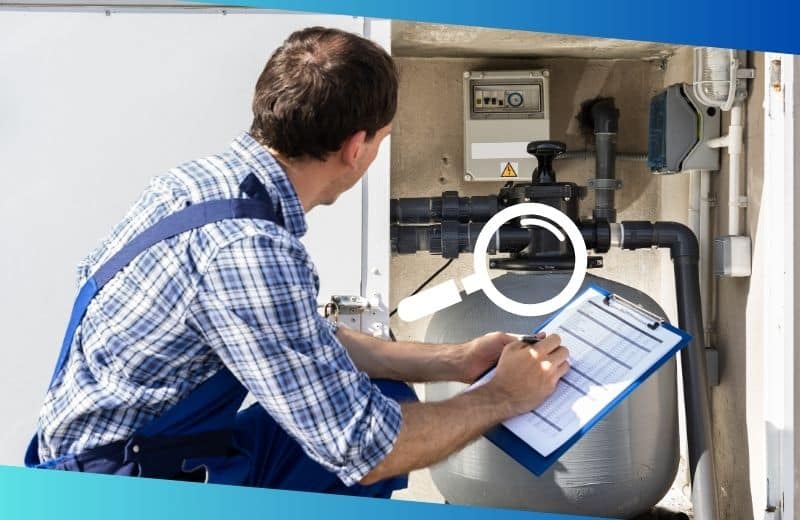
An annual well system inspection is essentially a professional test for cleanliness, contaminants, and mechanical issues. Annual inspections are recommended by the National Ground Water Association.
During a well inspection, a certified contractor will assess the performance in your well system and check that the well’s setup hasn’t changed. As well as inspecting the well equipment, the contractor will also perform a flow test and check water levels to ensure the pump is working as it should. Here’s a complete well inspection checklist covering all the tasks the contractor will complete.
Repairing or Replacing Parts
Not all well components are created equal. If your existing well system contains poor-quality parts, you may need to repair or replace them sooner than expected.
Even if your well’s components are good quality, they will eventually reach the end of their lifespan. The contractor performing your annual well inspection will tell you which, if any, of your well equipment needs to be repaired or replaced.
Related:
- How much does a well pump cost to install or replace?
- How long will a well pump last?
- Troubleshooting: Well Pump Runs But No Water Pressure
⚖️ Pros and Cons of Buying a House With Well Water
Below, we’ve outlined some of the biggest advantages and disadvantages of buying a home with a well.
Pros
- You don’t need to pay a water bill if your water solely comes from a well
- Water from a home with a well often contains more minerals and has a more pleasant alkaline taste than city water
- As a well owner, you’re not dependent on water from the grid, and you’re typically unaffected by natural disasters
- Wells provide a constant supply of water without disruption
Cons
- Wells can only pump water if there’s an available water supply. If your well dries up, you won’t have water
- It’s rare for a well to deliver clean water. You’ll probably need to treat your water source to make it safe to drink
- It’s your responsibility to maintain the quality of your water
🧠 Owning a Home With a Private Well: FAQs
Is well water healthy to drink?
Yes, well water is typically healthy to drink because it has a high mineral content and doesn’t contain disinfection chemicals. However, the quality of your water depends on your water source. Your well could contain industrial chemicals, bacteria, metals, and other dangerous pollutants and contaminants, even if its high mineral content technically makes it “healthy”.
Related: Is well water bad for your skin and can it cause rashes?
Which is better, tap water or well water?
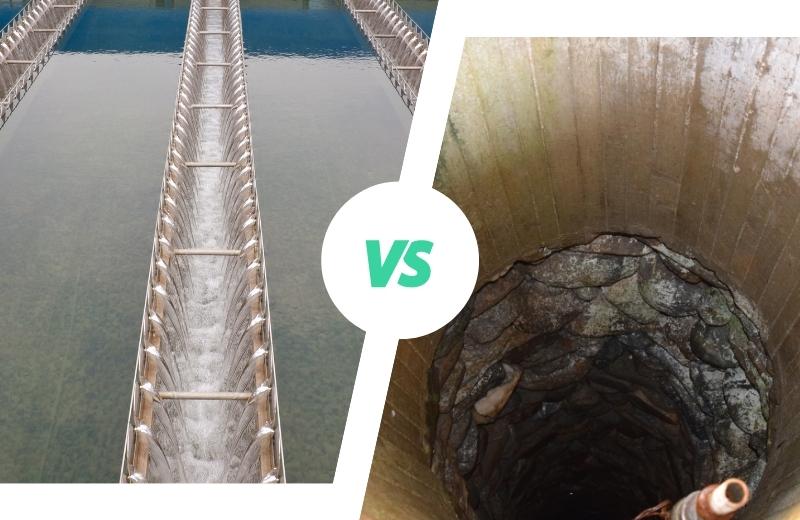
Water from a well is usually better than tap water from a city supply because well owners can test and treat their water however they like. While public water is at risk of contamination due to pollution, natural disasters, or negligence from the water treatment facility, water from wells is less likely to be affected by these issues, and is resultantly cleaner and tastier. Of course, this depends on whether the owner of the well tests and treats their water accordingly.
What are the benefits of using well water?
The biggest pros are:
- You don’t have to pay a water bill
- Your water is often richer in minerals than city water
- You can choose how to treat your water
- Your water doesn’t contain disinfection chemicals like chlorine
What does it mean when a house uses well water?
If a house uses well water, it means that the water is supplied by a well. Wells are drilled beneath the earth to obtain groundwater from an aquifer. The well pump sends water up to a pressure tank, where the water is stored before being used in the property. If a house has a well, it typically isn’t connected to a main water pipe for public water.
Can a house run out of well water?
Yes, a house may run out of water from a well. Shallow wells are especially likely to dry out from time to time. However, it’s rare for a well to permanently run out of water, and you can usually prevent your well from running out of water with proper monitoring and management.
How much water can a well deliver?
A well can usually deliver at least 6 gallons of water per minute. The exact flow rate of your well depends on the capacity of the well pump and pressure tank. You should be able to find this information in your well’s records.
Should you buy a house with a well?
If you’re considering buying a house with a well, ask yourself whether you’re prepared for the maintenance and upkeep involved in owning a well, including regular water testing and inspections, and the potential expense of water treatment. As long as you’re prepared to put in the money, time and effort to look after your water well, and the well is a good size for your family’s water needs, you should certainly consider buying a house with a well.
Do homes with wells have low water pressure?
It’s common for homes with wells to have slightly lower water pressure than homes with municipal water. However, the flow rate of a well should still be fast enough to supply your entire home with a consistent flow of water at peak demand. As long as you buy a home with a high-capacity well, you shouldn’t have issues with water pressure.


Thanks for great information I was looking for this information for my mission.
Glad it was helpful!
We are on 8 acres… and it has a well. We are outside just east of of Richmond Virginia. We are renting.
Where does the drain waste go?
My partner stuffed up the kitchen sink, we are unsure is we can use drano.
I do not use it, but he wants to. We had never been on well before. Is it safe?
This is info your landlord should provide! I’d recommend reaching out to them
We’re building a home with a well and I’ve been looking into the best whole home filtration options. We’ve leaned towards reverse osmosis but would really like to keep the natural minerals while removing all of the other contaminants (including fluoride). I know reverse osmosis strips it all and we’d have to add minerals back in, I’m hoping there are other options. Any advice or recommendations?
The first step is to start with a comprehensive lab test. Then, using the testing data, you can identify what treatment systems are necessary for the specific situation. Learn all about well water testing in this article https://waterfilterguru.com/how-to-test-well-water/
In order to assist my uncle, who has been preparing to drill a water well on his land, I decided to learn more about the topic. I’m glad I came across your article because you mentioned that having one will ensure a steady flow of water without interruption, which is useful in case of unanticipated occurrences. I’ll be sure to share this with him and look into residential water well drilling installation services that can assist him because I think trying this out would be a fantastic idea.
You’re right – having a dedicated source of water is undoubtedly one of the best benefits of having a private well!