If your reverse osmosis system has a water storage tank, you’ll need to maintain a suitable water pressure inside the tank to ensure the system performs properly and water is delivered quickly to your faucet.
📌 To pressurize your reverse osmosis tank, shut off your water supply and open your RO faucet to empty the tank. Use an air compressor or pump to increase the PSI to 6-8, then switch your water back on to fill the tank.
In this guide, we’ve shared the step-by-step process of pressurizing a reverse osmosis tank. We’ve also shared tips on how to diagnose low pressure in an RO tank, how to reduce the need to pressurize your tank, and other reasons for slow-flowing water from your filtration system.
Table of Contents
- 📥 How to Tell When RO Tank Pressure is Low
- 🎛 What’s the Correct Pressure For a Reverse Osmosis Storage Tank?
- 📈 How to Pressurize an RO Storage Tank: Step-by-Step
- 🔁 How Does A Reverse Osmosis Tank Work?
- 📖 How to Reduce the Need to Pressurize a Reverse Osmosis Storage Tank
- 📝 Other Reasons for Low Water Pressure in an RO System
- ❔ How to Pressurize a Reverse Osmosis Tank: FAQ
📥 How to Tell When RO Tank Pressure is Low
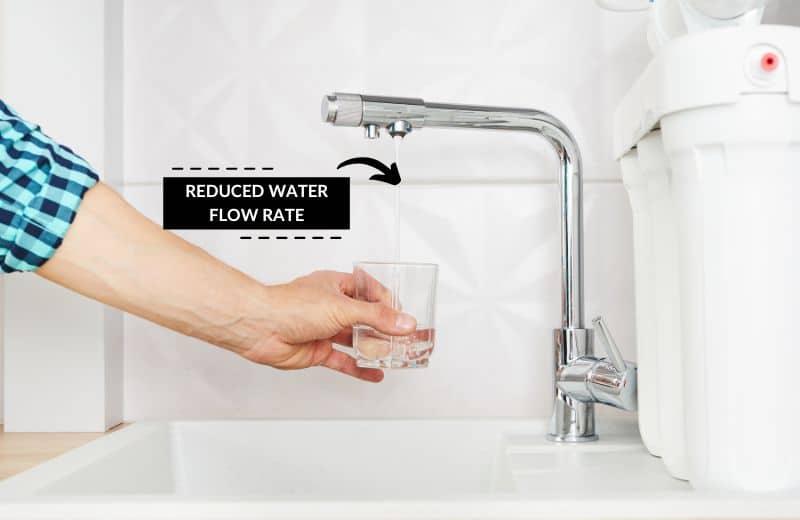
What’s the most obvious sign that your reverse osmosis storage tank pressure is low? A slow water flow from your faucet.
💡 Slow water flow may also indicate that your filters or RO membrane need replacing, so make sure you’re not due a filter change before you assume that low storage tank pressure is the problem. A simple TDS reading will guide you.
A good way to work out whether you have low pressure or your tank is defective is to relieve pressure from the air valve.
Check to see if water is escaping or spitting when you put pressure on the valve stem. If so, your tank’s bladder likely has a hole. You’ll need to replace the bladder or the tank itself (whatever is cheapest and easiest).
If only air comes out, with no water, you likely just have low pressure, which can be fixed by pressurizing the tank following the steps outlined in this guide.
🎛 What’s the Correct Pressure For a Reverse Osmosis Storage Tank?
The optimum pressure for a 2-4-gallon reverse osmosis tank is 6-8 PSI. When the tank is full, the water pressure should read 30 PSI. This may be slightly higher if your tank capacity is larger than average (such as for a whole home RO unit).
You can use a PSI gauge to take regular readings of your tank’s pressure and make sure there’s plenty of water flowing through the system.
📈 How to Pressurize an RO Storage Tank: Step-by-Step
To pressurize the storage tank in your reverse osmosis system, here’s what to do:
Materials & Tools:
First, gather the following materials and tools:
- Bucket
- Pliers
- Wrench
- Air compressor or pump
- Pressure gauge that measures low PSI or below 10
Step 1: Shut Off the Water
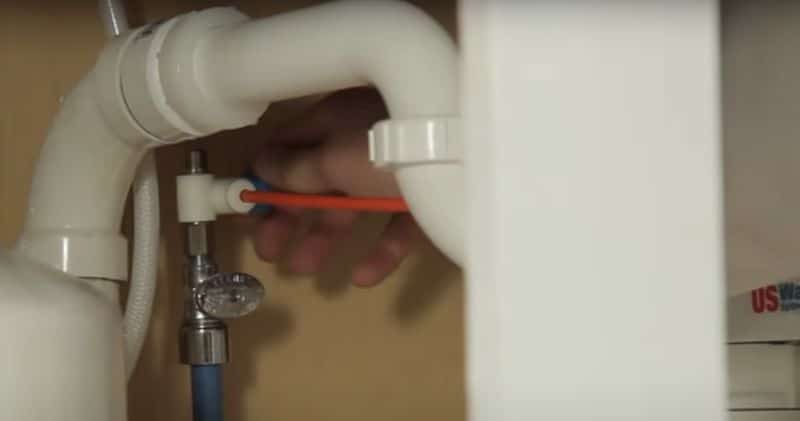
Turn the valve underneath your kitchen sink to shut off the flow of water leading to the reverse osmosis system.
If you don’t have an under-sink valve, you may need to shut off the valve that supplies water to your whole home.
Step 2: Empty the Tank
Open your faucet and keep it running until all the water flows out of the reverse osmosis tank. No need to waste the water – catch it in several pitchers and store it in your fridge to use for drinking.
Once the water has stopped flowing from the faucet, you know that the RO tank has been fully emptied.
Step 3: Locate the Air Pressure Valve
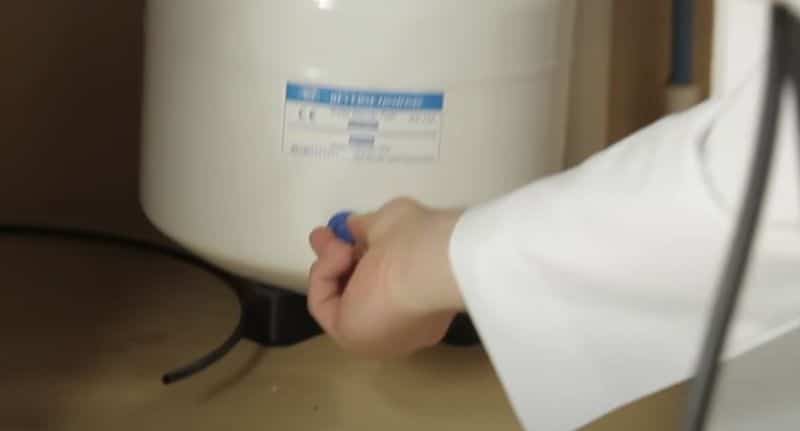
Most tank-based reverse osmosis systems have two valves: an air pressure valve and an RO membrane valve. Look for the air pressure valve, which usually has a blue cap. Check your user manual if you’re not sure where the valve is located.
Remove the covering from the valve stem. Keep your faucet open throughout the pressurizing process.
Step 4: Use a Pressure Gauge to Check the Pressure
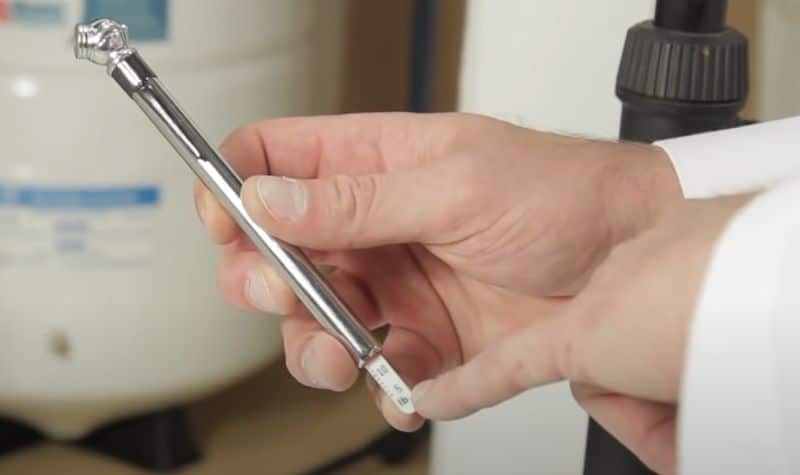
Use a pressure gauge to take a pressure reading in PSI from your reverse osmosis tank. Remember, an empty tank (2-4 gallons in size) should have a pressure of between 6 and 8 PSI.
A digital gauge or a tire pressure gauge will work fine for taking a pressure reading.
Some reverse osmosis tanks have a built-in pressure gauge, which makes it even easier to take a reading.
Step 5: Increase Tank Pressure With a Bicycle Pump
If your tank’s pressure has dropped below 6 PSI, pump air back into the valve until the pressure increases to around 7. The easiest tool for the job is a bicycle pump. Air compressors and other handheld air pumps can also be used just be sure to monitor it closely as to not over pressurize.
Over pressurizing the tank could lead to further problems.
When you increase the pressure in the tank, you might notice some water leaving the tank. That’s fine. Just continue to increase the pressure until all the water leaves, then take another pressure reading.
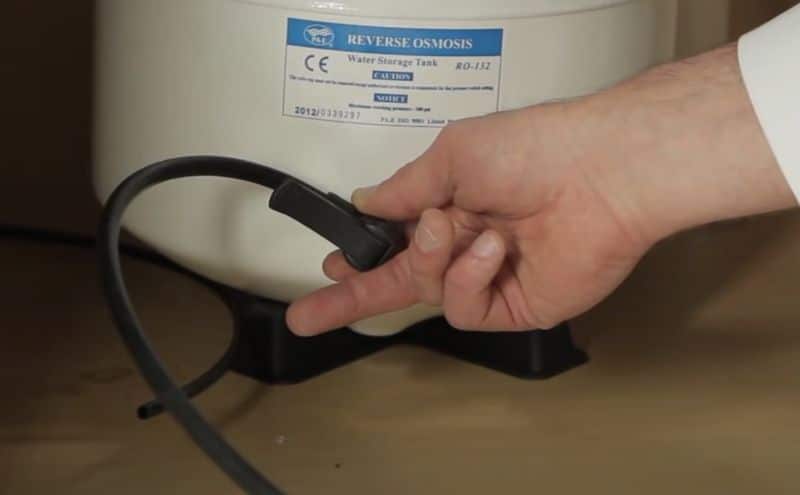
Step 6: Close the Valve
That’s it – you should now have pressurized your reverse osmosis tank.
When you’re happy with the pressure reading, close the air pressure valve, switch off your faucet, and open the under-sink valve to allow water to flow back into the RO system. The tank should gradually fill as water is filtered by the reverse osmosis membrane.
If the pressure reading is still too low, continue adding air pressure until you reach around 7 PSI.
🔁 How Does A Reverse Osmosis Tank Work?
Now we know how to pressurize a reverse osmosis tank, let’s look at how reverse osmosis tanks work – and why they need pressure in the first place.
The pressure tank in a reverse osmosis system has two compartments: one for water, and one for air. The air compartment is pressurized.
📌 When you switch on your faucet, the pressurized air chamber forces the water out of the tank, providing enough pressure to send the water up through the pipe and out of your faucet.
The more water the tank contains, the higher the pressure inside the air compartment. It works the opposite way, too: as water leaves the tank, the air pressure decreases.
Once your RO tank pressure reaches about two-thirds of the pressure of the water flowing through the reverse osmosis system, the system will automatically shut off.
So, if your water flow is about 60 PSI, the tank will reach a pressure of about 40 PSI when the system shuts off.
📖 How to Reduce the Need to Pressurize a Reverse Osmosis Storage Tank
Let’s look at some of the ways to avoid having to constantly pressurize your reverse osmosis storage tank.
1) Replace the Tank
The bladders in reverse osmosis tanks gradually lose air pressure regardless of their quality or age – in the same way that a tire loses air pressure.
There are certain factors that may cause your reverse osmosis tank to lose pressure at a faster-than-normal rate. If the bladder is worn or has a hole, the air will escape frequently.
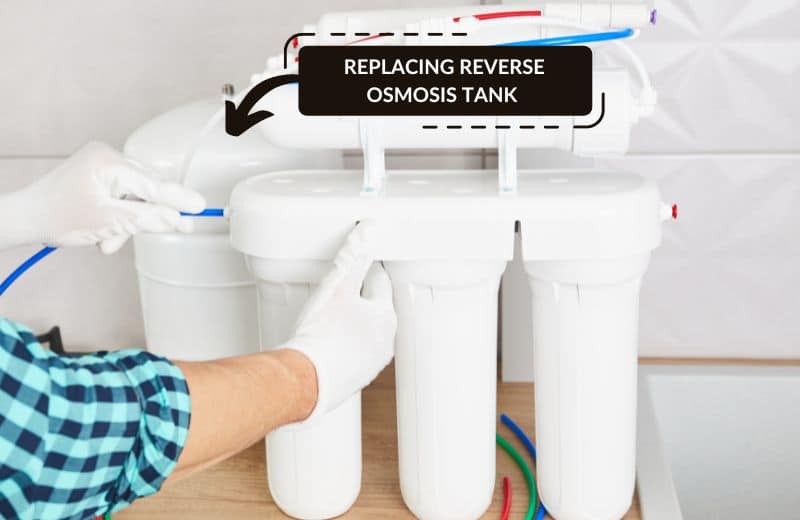
The best fix to this problem is to replace the reverse osmosis tank.
2) Buy a Tankless RO System
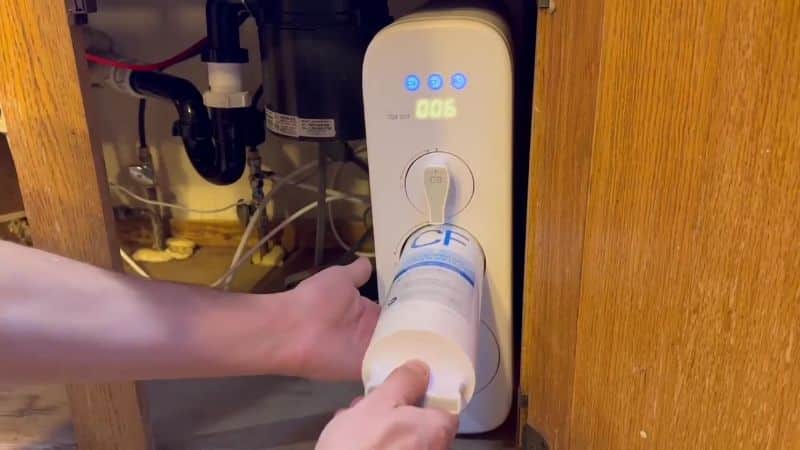
Want to avoid having to boost your reverse osmosis tank pressure entirely? Buy a tankless reverse osmosis system.
💡 Tankless reverse osmosis systems are exactly how they sound: reverse osmosis systems that send water straight through the filters and out of your drinking water faucet, with no tank between the two.
Because water isn’t stored in a tank, ready to use, you’ll need to wait a few seconds after opening your faucet before the water arrives. Do your research first, these systems often compromise quality and quantity for convenience.
If you’re keen to avoid as much maintenance as possible, you probably think this isn’t a bad sacrifice if it means you won’t have to bother with adjusting your tank pressure – because there’s no tank whatsoever.
📝 Other Reasons for Low Water Pressure in an RO System
Low water pressure and slow flow rate aren’t always caused by low pressure in the reverse osmosis tank.
Other causes of low water pressure in an RO system are:
- Low feed pressure from your plumbing
- Clogged reverse osmosis membrane
- Clogged or incorrectly installed filters
- Kink in water line supplying the RO tank
- Temporary water pressure loss
📌 You can resolve these issues by installing a booster pump (an electric pump that increases water pressure), replacing your filters and RO membrane as necessary, checking your water lines for kinks, and contacting your water utility company to enquire about reduced pressure in your whole home.
❔ How to Pressurize a Reverse Osmosis Tank: FAQ
Can a pressure pump be used to fill a reverse osmosis tank?
Yes, you can use any kind of handheld pressure pump or air compressor to fill your reverse osmosis tank’s air valve. A bicycle pump is an affordable, effective option to consider for pressurizing a reverse osmosis water tank.
Why is my reverse osmosis tank not filling up?
If you have an empty tank that isn’t filling up, the pressure in the tank might be too low or too high. This could be caused by a gradual decrease in pressure or by a ruptured tank bladder.
Do I have to pressurize my RO water tank?
You will only need to pressurize your reverse osmosis tank if the air and water pressure are too low. You can use a pressure gauge to take a pressure reading. Reduced water production and slow water flow are two signs that your RO tank needs pressurizing.
How do you fix low pressure in a reverse osmosis tank?
The best way to fix low pressure in your reverse osmosis tank is to pressurize the tank. To do this, switch off your water supply and turn on your faucet until the tank empties, then use an air pump to increase the tank’s pressure to 7-8 PSI.
How long does it take an RO system to pressurize?
It takes seconds to pressurize your empty RO tank with a pressure pump. The process of emptying and refilling the tank is longer – on average it’ll take 2-4 hours for a standard 2.8-gallon tank to completely fill with drinking water.
How much pressure should a RO tank have when full?
A full RO tank should have a pressure of between 7 and 8 PSI, or at least 6 PSI. If the pressure in the tank is higher or lower than this, your water flow and quality may be affected.
What happens if RO tank pressure is too high?
If your tank water pressure is too high, RO water from the reverse osmosis membrane won’t be able to enter the tank. This could cause a backflow of water inside the system.

THERE ARE MANY SIZED TANKS, BUT YOU ONLY TALKED ABOUT 2-4 GALLONS, I HAVE A NINE GALLON TANK, WHAT SHOULD THE PRESSURE BE FOR MY TANK