If you’ve never changed a water filter in your under-sink filtration system before, you’re probably wondering where to begin. But don’t panic! The process is much easier than you’d imagine.
In this guide, we’ll share everything you need to know about changing your under-sink water filter, including:
- What tools and supplies you need to replace under-sink water filter cartridges
- The exact step-by-step process of replacing a filter cartridge under your sink
- The different filter cartridges and their expected lifespans
Table of Contents
🔢 Step-By-Step Process of Replacing an Under-Sink Water Filter Cartridge
Under-sink water filters each have their own unique designs, so this guide will share the standard process that works for most filters of this kind. Be sure to check your user manual or contact the manufacturer if you have any concerns or questions.
Follow these steps to replace an under-sink water filter cartridge:
Step 1: Gather Your Supplies
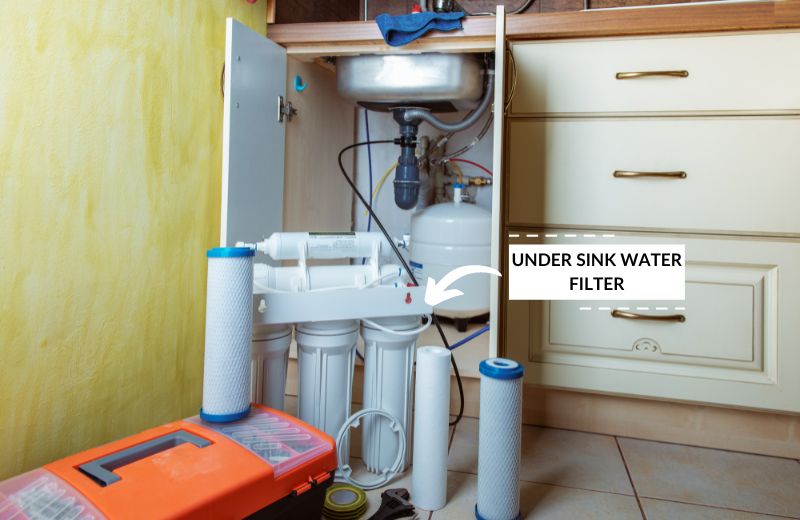
First, gather the tools and supplies you need for installation. Don’t worry, you don’t need many, and you’ll probably already have everything you need to hand.
You will need:
- A filter housing wrench (this should have been supplied with the filter system) a strap wrench, or a sump wrench
- Replacement cartridges
- O-rings
- A small tub or bucket
Step 2: Shut Off your Water Supply
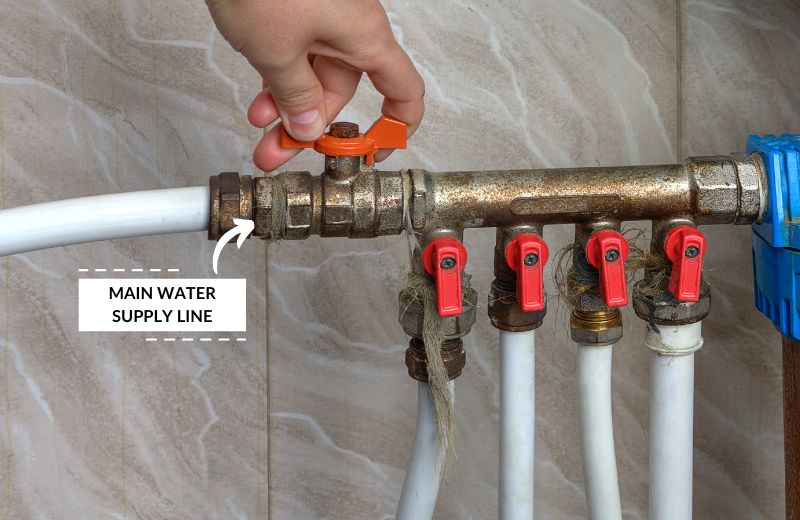
Before you do anything to your filtration unit, switch off your home’s water supply to prevent leaks and flooding.
Most under-sink cabinets have a feed valve that can be turned to shut off the water, rather than switching off the supply to your entire home.
If you have a tank-based reverse osmosis unit, you should also turn off the valve at the top of the water storage tank.
Open your kitchen sink faucet to relieve water pressure. Leave it on until all the water leaves the faucet. This will release pressure inside the system and make it easier to remove the filter housings. If your filtration unit has a vent valve, press it to release pressure. If your filtration system has a separate faucet, open the faucet to relieve the pressure.
Step 3: Remove the Filter Housing
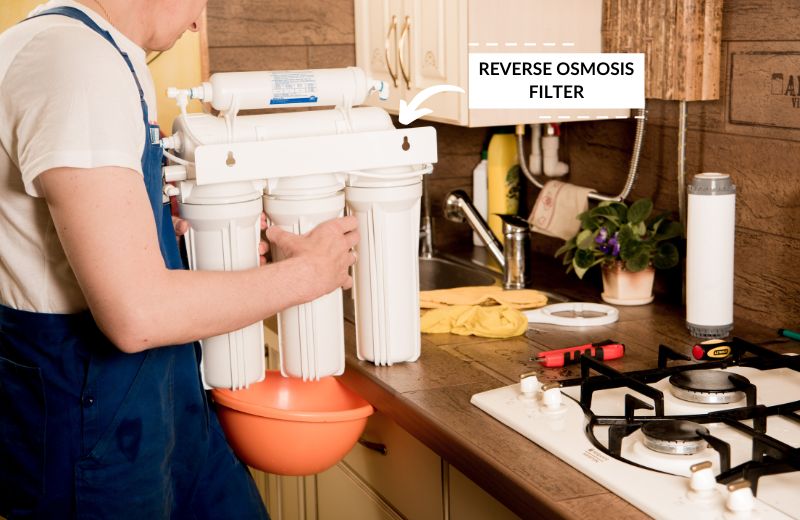
Slide the filter housing wrench underneath the housing and twist the wrench left to unscrew the housing. Place a small tub or bucket underneath the housing to catch any dripping water.
Hold the bottom of the housing with one hand to catch it when it comes free. Pour any remaining water into your kitchen sink.
You can use a strap wrench or metal wrench to unscrew the housing if it’s stuck.
Step 4: Examine the Filter Cartridges
Now is a good time to carefully inspect the cartridges that you’re changing. Determine how clogged the media is, and decide whether you should change the cartridges sooner or later next time.
It might take you a few rounds of filter changes to become familiar with the appearance of the cartridges, when they need to be replaced – and when they should have been changed sooner.
Step 5: Check the O-Rings
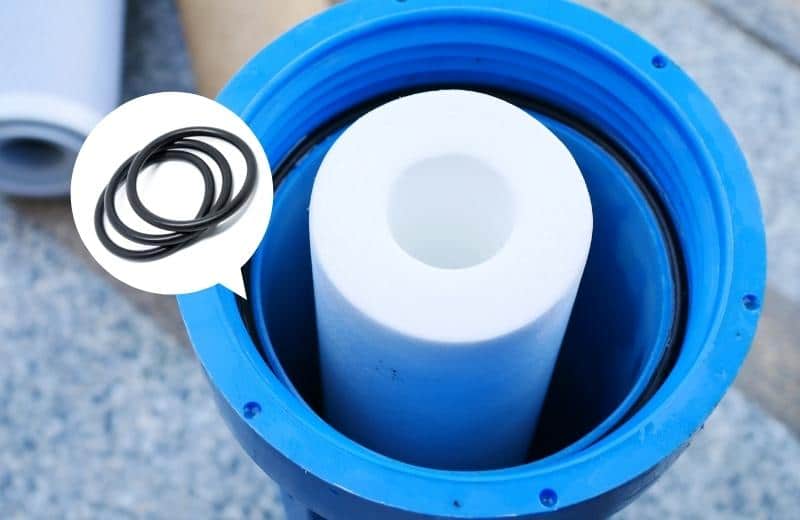
The o-rings are essential to preventing leaking in the filtration unit, so use this time to check each of the two o-rings in the housing, and make sure the o-ring seal is still good. Check for nicks, breaks, and stiffness. If the o-ring looks past its best, replace it.
After removing the filter, check that the bottom o-ring isn’t still stuck inside the housing. If you leave this o-ring in and add a new cartridge to the housing, there won’t be a proper seal, and water could escape from the system.
Step 6: Install the New Filter Cartridges
Rinse the filter housing, or soak it for a couple of minutes in hot, soapy water. Dry the housing and unpackage the new filter.
Slide the new cartridge in place, making sure it fits in the grooves inside the housing. Twist or click the housing back in place in the water filtration unit. Avoid over-tightening the housing, as this can cause leaking. Hand-tightening the housing should be fine.
Make sure you put the cartridges the right way into the housing. If you don’t, the housing won’t screw properly back in place.
Step 7: Repeat the Process (If Necessary)
If you have more cartridges that need to be replaced, repeat the process with the other filter housings. Don’t try to change all the cartridges at the same time, as you’ll likely get confused. Instead, replace the cartridges one by one.
Step 8: Switch on the Water Supply
When you’ve changed all the cartridges that needed changing, switch your water supply back on. Open the water valve slowly, waiting for several seconds between twisting to prevent a buildup of pressure that might damage the system.
If applicable, turn on the water valve at the top of your reverse osmosis unit’s water storage tank. Check the tank’s air pressure and increase it to 8 PSI if it’s dropped.
Step 9: Check for Leaks
Finally, double-check for water escaping from anywhere around the unit. If you notice any drips, switch off the water supply and check that the housing is properly tightened and the o-rings are in place.
🧽 Should You Clean Your Under-Sink Filtration System During Filter Changes?
If you’re in a rush, don’t worry about cleaning your under-sink water filter while you’re swapping an old filter for a new filter cartridge. However, if you have five minutes of time, we recommend at least cleaning the filter housing.
Filter housings are constantly exposed to water, making them ideal breeding grounds for mildew and mold. To prevent germs and algae from accumulating inside the housings, soak them in warm, soapy water, then use a long-handled dishwashing brush to clean them thoroughly. Let the filter housings air-dry before replacing them in your filtration system.
Optionally, you can also sanitize your filter housings to clean out the entire system. If you notice green or black mold or algae in the unit, sanitizing it with an NSF-approved sanitizer will return the system back to good health.
To sanitize an under-sink system, remove the filter elements and pour a diluted household bleach mix into each filter housing. Reattach the filter housings and turn on your water supply. Switch on your faucet to allow water to flow through the filters. Then, switch off the faucet and wait 30 minutes before removing each filter housing and disposing of the sanitizing solution down your drain,
Soak and rinse the filter housings to get rid of the sanitizing solution, then reattach the filters.
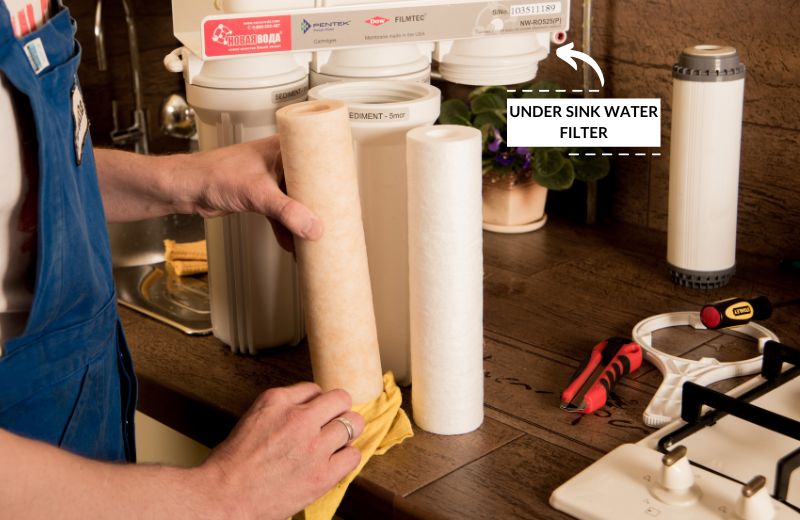
📅 When Should you Replace an Under-Sink Water Filter Cartridge?
Different filter cartridges in an under-sink filter system have different lifespans. Generally:
- Sediment filters last for 6 months
- Most carbon filters last for 9-12 months
- RO membranes (if applicable to your system) last for 24 months
- Post-filters last for 12 months
You can learn more about when to replace an under-sink filter cartridge in this guide.
🧠 How to Change Under Sink Water Filter FAQs
How do you remove a water filter from under the sink?
Most filters have housing that can be twisted or clicked off the filter head. From here, you can tip the housing upside down, and the old filter will slide out. Slot the new cartridge in place and reattach the housing to the filter head.
How often do you change under the sink water filters?
Sediment cartridges need changing approximately every 6 months. Carbon cartridges last for 6-9 months, and post-filters last for about 12 months. Exact lifespan depends on the quality of your water supply and your water usage.
How much does a water filter cost?
The upfront cost of an under-sink filter system is $150-$500 on average. A single replacement filter costs $15-$40, depending on the filter size, materials, quality, and lifespan.
How do you know when to replace a filter cartridge?
Signs you need to conduct a filter change are reduced flow rate, poor water taste and smell, and visibly turbid water. If you’re unsure or you have a problem, contact your manufacturer or check the user manual.
